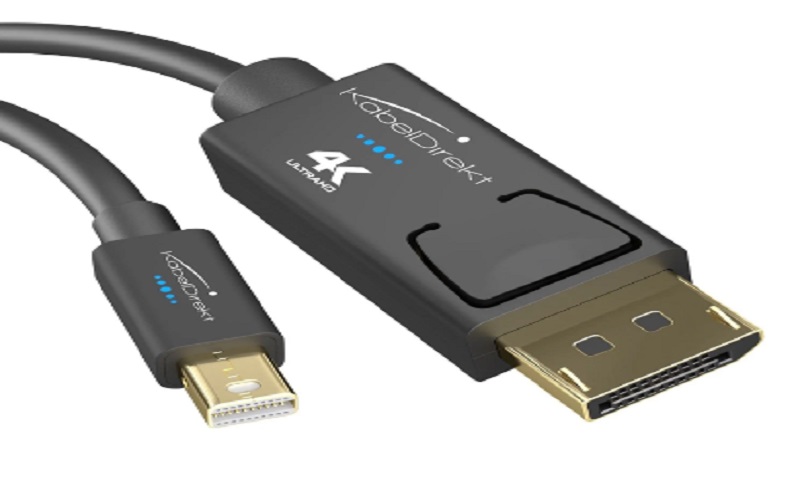
Connecting your laptop to an LCD screen is a breeze, and in this guide, we’ll explore the top 10 straightforward methods to achieve this seamless connection. Whether you’re giving a presentation at work, enjoying a movie night with friends, or simply seeking a larger display for your laptop’s content, these easy-to-follow steps will make it a cinch. From using HDMI and VGA cables to employing wireless casting options, we’ve got you covered. So, grab your laptop, pick your preferred method, and get ready to enjoy an enhanced visual experience on the big screen with minimal effort!
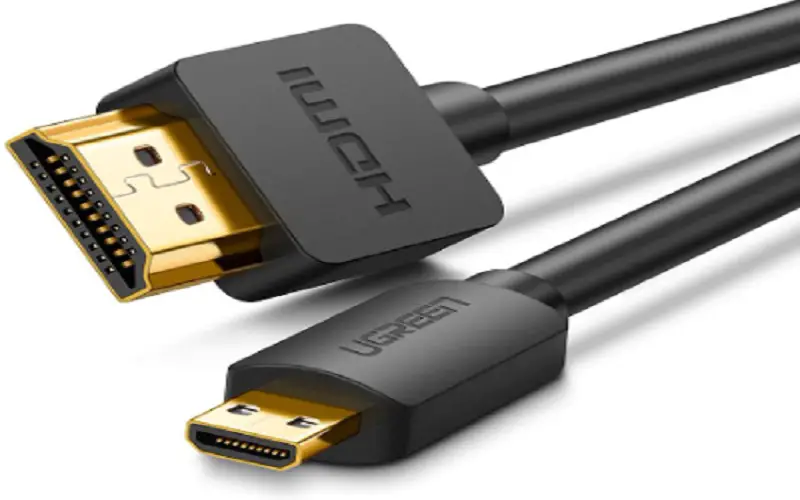
1. HDMI Cable
Connecting your laptop to a TV using an HDMI cable is simple and easy. Here are the simple instructions to follow:
• Check the ports: Ensure your laptop and TV have HDMI ports.
• Get the suitable cable: Purchase an HDMI cable that fits both devices.
• Connect the cable: Insert one end into the HDMI port on your laptop and the other end into the TV’s HDMI port.
• Switch input: On your TV, change the input source to the HDMI port where the laptop is connected.
• Adjust resolution (if needed): Your laptop’s display settings might require adjustments to fit the TV screen properly.
• Enjoy! Your laptop’s display should now appear on your TV.
2. VGA Cable
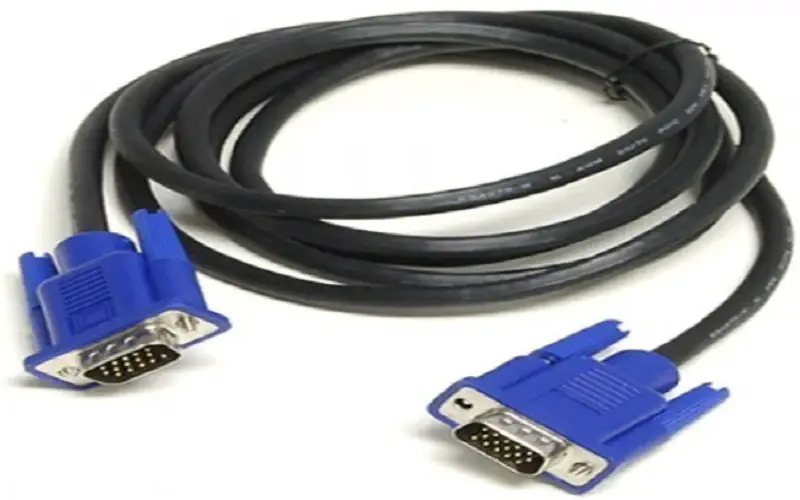
Connecting your laptop to a TV with a VGA cable is uncomplicated. Follow these easy steps:
• Check ports: Make sure your laptop and TV have VGA ports. They look like trapezoidal shapes with holes.
• Get the suitable cable: Purchase a VGA cable that fits your laptop and TV.
• Connect the cable: You would insert one end of the VGA cable into the VGA port on your laptop and the other end into the TV’s VGA port.
• Audio cable (optional): If your VGA cable doesn’t carry audio, use a separate audio cable to connect your laptop’s audio output to the TV’s audio input.
• Switch input: On your TV, change the input source to the VGA port where your laptop is connected.
• Adjust resolution (if needed): Your laptop’s display settings may require adjustments to fit the TV screen properly.
• Enjoy! Your laptop’s display should now appear on your TV.
3. Ethernet Cable
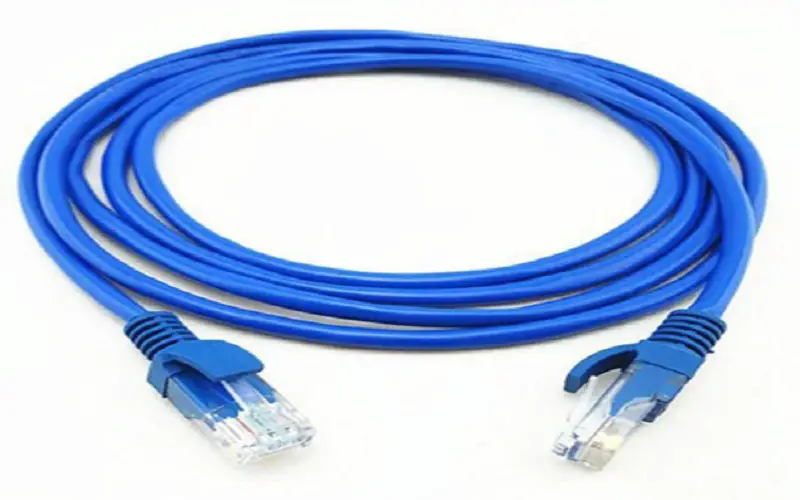
To establish a connection between your laptop and a TV using an Ethernet cable, follow these simple steps:
• Check ports: Ensure your laptop and TV have Ethernet ports (RJ-45 ports).
• Get the suitable cable: Purchase an Ethernet cable that fits your laptop and TV.
• Connect the cable: Plug one end of the Ethernet cable into the Ethernet port on your laptop and the other end into the TV’s Ethernet port.
• Network settings: On your laptop, go to network settings and make sure the Ethernet connection is enabled.
• Network settings on TV (if needed): Some smart TVs may require additional setup in their network settings to detect the laptop.
• Display settings: Adjust your laptop’s display settings to mirror or extend the screen to the TV.
• Enjoy! Your laptop’s display should now appear on your TV.
4. Screen Mirroring
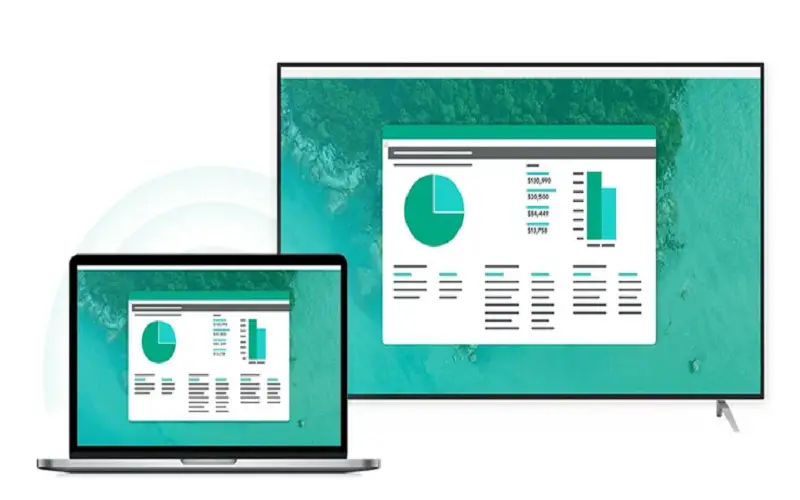
To display your laptop screen on a TV, follow these simple steps:
• Compatible devices: Ensure that your laptop and TV both support screen mirroring. Most smart TVs have this feature.
• Enable screen mirroring: On your laptop, turn on the screen mirroring function. It may be labeled as “Cast” or “Mirroring” in the settings.
• TV selection: On your TV, access the screen mirroring function and select your laptop from the list of available devices.
• Establish connection: Once selected, your laptop’s screen will start mirroring the TV.
• Display settings: Adjust your laptop’s display settings if needed for the best fit on the TV screen.
• Enjoy! Your laptop’s display is now mirrored on the TV, enabling you to view content on a larger screen.
5. Wi-Fi Direct
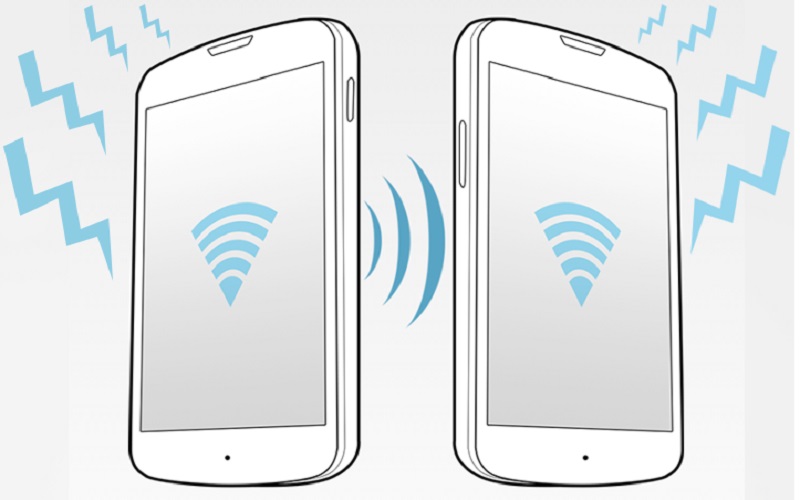
To establish a connection between your laptop and a TV using Wi-Fi Direct, follow these simple steps:
• Wi-Fi Direct support: Check that your laptop and TV support Wi-Fi Direct. Most modern devices have this feature.
• Enable Wi-Fi Direct: On your laptop, activate Wi-Fi Direct in the network settings.
• TV connection: Access your TV’s Wi-Fi Direct feature and wait for it to search for available devices.
• Laptop selection: Once the TV finds your laptop, select it from the list of available devices.
• Confirm connection: You need to confirm the connection on the laptop and TV.
• Enjoy! Your laptop’s screen should now be visible on the TV, wirelessly mirroring the display.
6. Chromecast
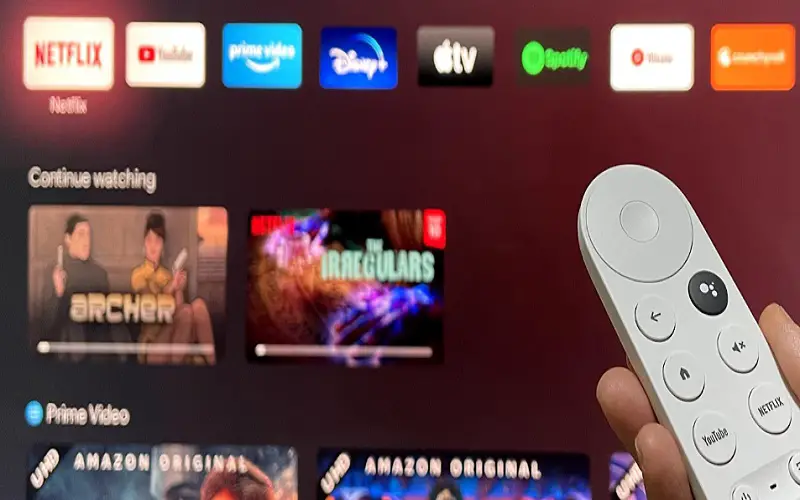
Using Chrome on Mac, Windows, or Chrome OS, you can display your entire computer screen. However, it’s important to note that when you cast your screen, the audio might still play on your computer. To have the audio play on your TV instead, you should cast the specific tab containing the content you want to display.
• On your computer, open Chrome.
• Click on the three-dot menu (More) located at the top right corner, and then select “Cast.”
• Click Sources Down Arrow and then click Cast screen.
• Select the Chromecast device of your choice from the list to cast your computer screen on that particular device.
7. Miracast
Connecting your laptop to a TV using Miracast is a straightforward process. Follow these easy steps:
• Check compatibility: Ensure that both your laptop and TV support Miracast. Many modern devices have this feature.
• Turn on Miracast: On your TV, access the Miracast or Screen Mirroring function in the settings.
• Enable Miracast on your laptop: Go to your laptop’s display settings and activate Miracast or Screen Mirroring.
• TV selection: Your TV will search for available devices. Select your laptop from the list.
• Confirm connection: You may need to confirm the connection on the laptop and TV.
• Enjoy! Your laptop’s screen should now be visible on the TV, allowing you to view content on a larger display wirelessly.

8. Apple AirPlay
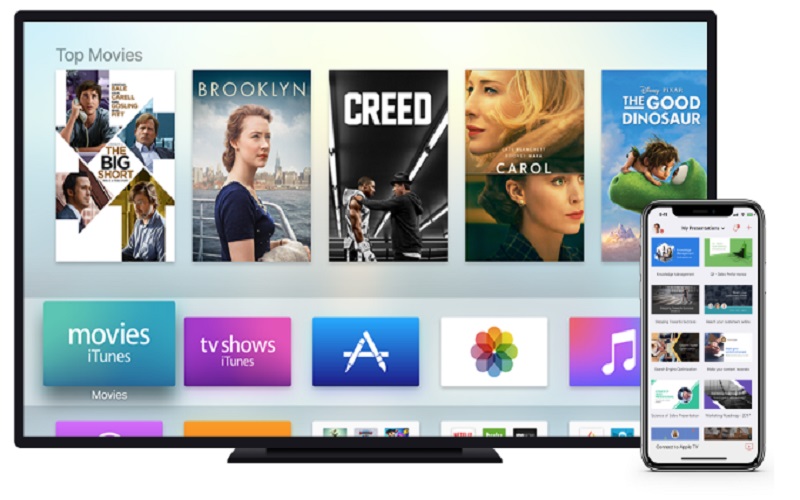
Connecting your laptop to a TV using Apple AirPlay is a seamless process. Follow these easy steps:
• Compatible devices: Ensure your laptop and TV support Apple AirPlay. Apple devices like MacBooks and Apple TVs are typically compatible.
• Wi-Fi connection: Ensure your laptop and TV are connected to the same Wi-Fi network.
• AirPlay activation: On your laptop, click the AirPlay icon in the menu bar or control center.
• Select TV: Choose your TV from the list of available AirPlay devices.
• Mirroring: Enable screen mirroring to display your laptop’s screen on the TV.
• Enjoy! Your laptop’s screen will now be mirrored on the TV, allowing you to stream videos, share presentations, or view photos wirelessly.
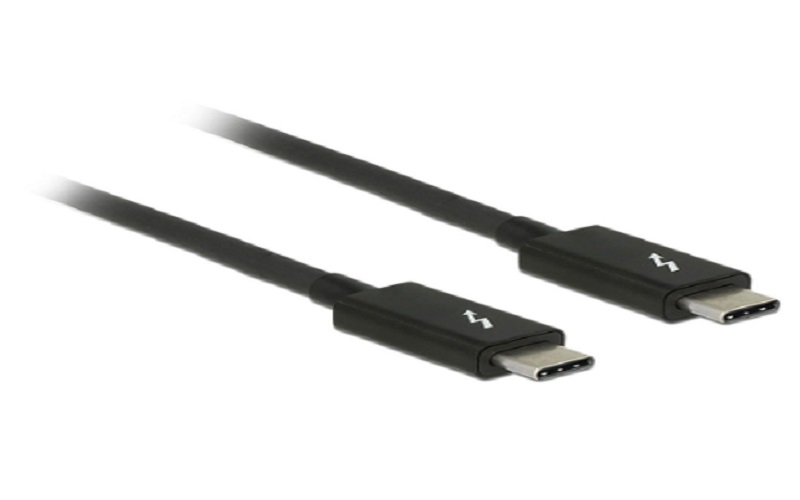
9. Thunderbolt
Connecting your laptop to a TV using Thunderbolt is a straightforward process. Follow these easy steps:
• Check ports: Make sure your laptop and TV have Thunderbolt or Mini DisplayPort ports.
• Get the right cable: Purchase a Thunderbolt to HDMI or Thunderbolt to DisplayPort cable, depending on your TV’s input.
• Connect the cable: Plug one end into the Thunderbolt port on your laptop and the other end into the TV’s HDMI or DisplayPort.
• TV input: On your TV, switch to the HDMI or DisplayPort input where the laptop is connected.
• Display settings: Adjust your laptop’s display settings if needed to fit the TV screen properly.
• Enjoy! Your laptop’s display should now appear on the TV, providing a larger view of your content.
10. DisplayPort
To establish a connection between your laptop to a TV using DisplayPort, follow these simple steps:
• Check ports: Ensure your laptop and TV have DisplayPort or Mini DisplayPort ports.
• Get the suitable cable: Purchase a DisplayPort to DisplayPort or DisplayPort to HDMI cable, depending on your TV’s input.
• Connect the cable: Plug one end into the DisplayPort on your laptop and the other end into the TV’s HDMI or DisplayPort.
• TV input: On your TV, switch to the HDMI or DisplayPort input where the laptop is connected.
• Display settings: Adjust your laptop’s display settings to fit the TV screen properly.
• Enjoy! Your laptop’s display is now visible on the TV, allowing you to view content on a larger screen.
