
Virtual Machines Using VMware Workstation
Virtual machines are virtualized client/server environments within a physical host server. The host server can serve one virtual or more machines. Each has an operating system and some dedicated roles installed, such as web applications of its own. For a user, the virtual server will appear as a dedicated server.
All virtual machines that are hosted on the host server are allocated with a part of the memory and hard disk space and they have the same CPU usage as the physical machine.
‘Create a new virtual machine’ Wizard will help in creating a new virtual machine if there is no virtual machines or system images available. Once a virtual machine is created, an operating system needs to be installed.
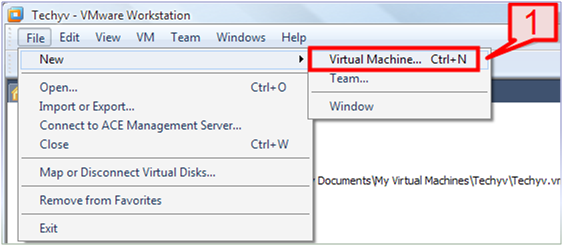
1. First, go to the Workstation menu. File -> New -> Virtual Machine.
2. Then select the “Custom” option on the dialog box and click Next.

3. Select the “Hardware Compatibility” option and click next
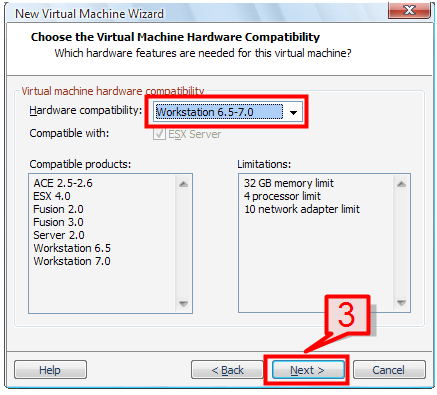
Note: The higher the version you select on the compatibility option, the better options you get with product compatibility and limitations.
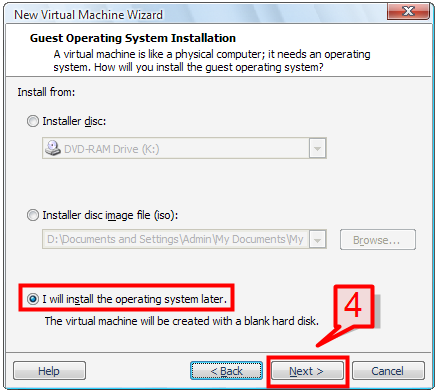
4. On the next screen, select the installation options to install guest operating system. The available options are:
Installer disk: Select this option to install the operating system through the CD/DVD drive.
ISO Image: Install the guest operating system by selecting an ISO image file.
Install Later: This option will create a blank virtual disk wherein the guest operating system can be installed later.
Select “I will install the operating system later” option and click Next.
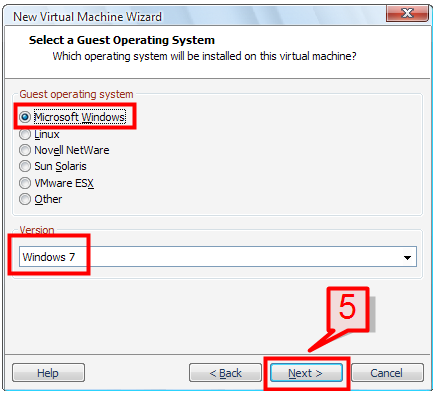
5. On the next window, select the guest operating system platform and its related operating system version then click Next.
Since we are using a Windows platform, select Microsoft Windows and choose Windows 7 as the operating system version. If you are planning for a virtualized server environment, select one of the server operating system.
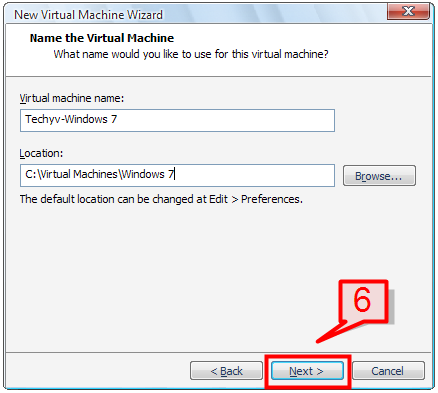
6. Provide a virtual machine name and the location where it will be stored and click Next.
7. On the Processor configuration window, select the number of processors to be used for this virtual machine, then click Next.
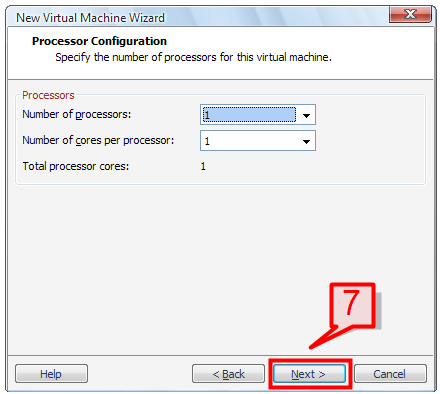
Note: If the virtual machine will be used for heavy applications or a dedicated service purpose then you ought to consider increasing the number of processors and cores per processor.
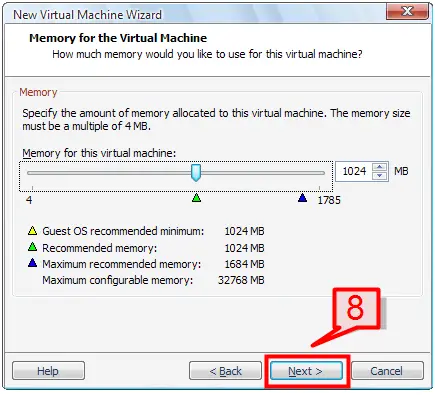
8. On the next window, specify the amount of memory to be allocated to this virtual machine. You can increase or decrease the default memory allocation depending on the purpose of the virtual machine. Click Next to continue.
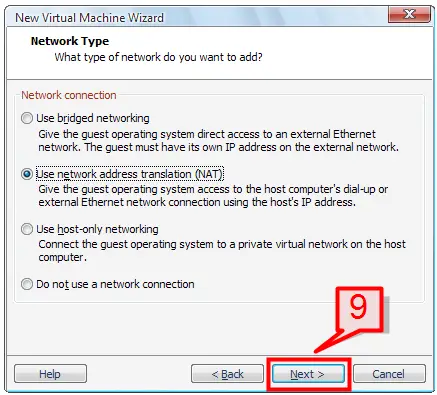
9. On next screen, select a network type (Bridged, NAT, and Host only) then click Next.
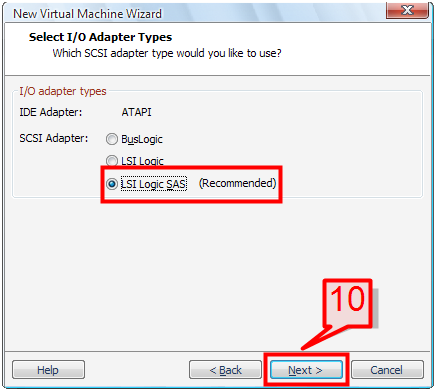
10. Select an I/O adapter type (LSI Logic SAS recommend) and click Next.
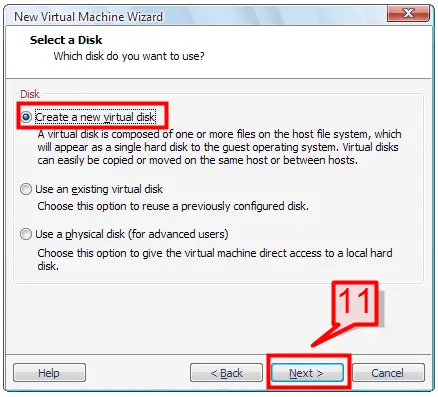
11. Since we are creating a new virtual machine, select ‘Create a new virtual disk’ and click Next to continue.
12. Choose a virtual disk type (SCSI is recommend) and click Next

13. Specify the disk size of the virtual machine and select an option of whether the disk space allocated to virtual machine will be stored using a single file or using multiple files, each having up to 2 GB in size. Click Next to continue.
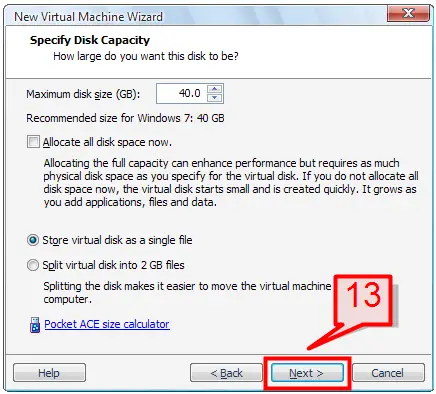
Note: You can choose to allocate all disk space and create a virtual disk of 40 GB (as in this case), but this requires 40 GB of physical hard disk space to be available to allocate. If you decide not to choose the “Allocate disk space” option, the virtual disk space will increase gradually as you use the virtual machine.
14. Provide a file name for the disk then click Next to continue.
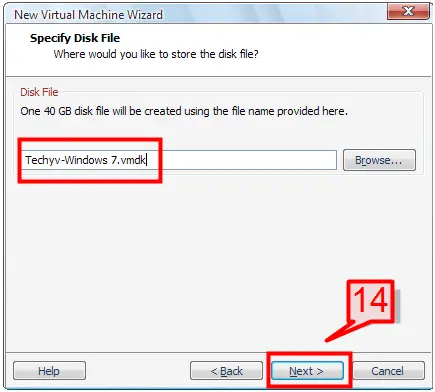
Note: The file will be stored having .vmdk as its file extension.
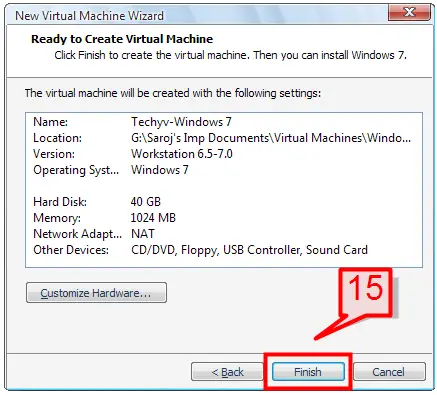
15. Now you have set all the required parameters to create the virtual machine. Review the selections that you have made on the previous screens and click Finish to complete the Virtual Machine Wizard.
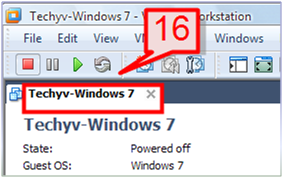
16. The virtual machine that you have created will now be displayed under the Workstation menu.
How to Install the Guest Operating System
Now that you have created blank virtual disk files, the next step is to install an operating system to the virtual disk. You can install the operating system with no manual intervention by choosing to install through either ISO image or CDDVD drive.
17. Select ‘Edit virtual machine settings’ from the command section.

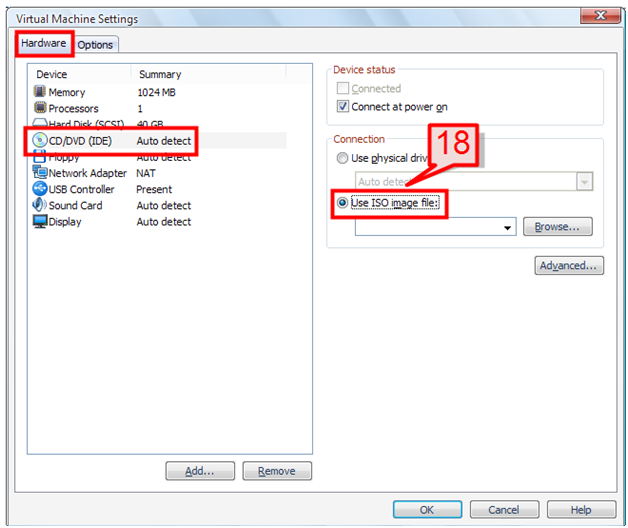
18. Select the hardware tab and select the CD/DVD (IDE) option. On the right window pane, select “Use ISO image file”.
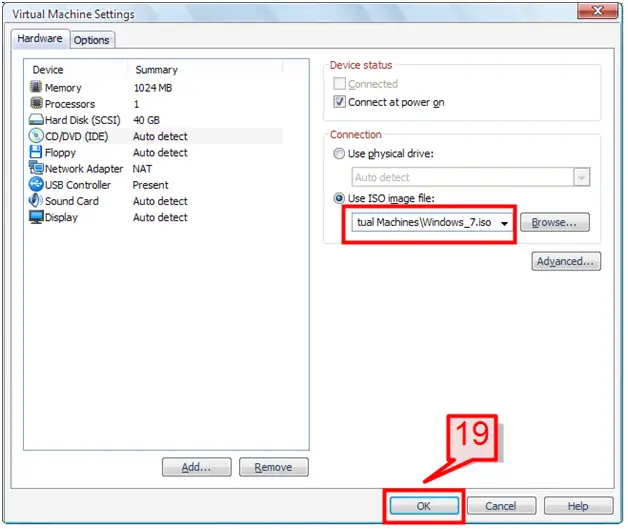
19. Browse for the ISO image, select it, then click Ok to continue.
20. On the command pane section, click on ‘Power on this Virtual Machine’.
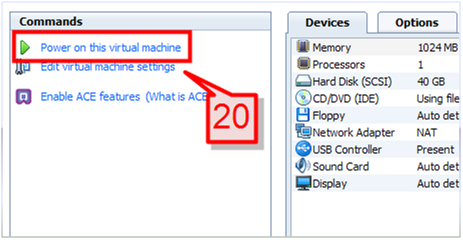
Note: Before you turn on the virtual machine, you can customize various other options using the “Edit Virtual Machine Wizard” if there is a need to do so.
21. The Windows operating system installation will then start. The installation is the same as installing Windows operating systems on a physical host.
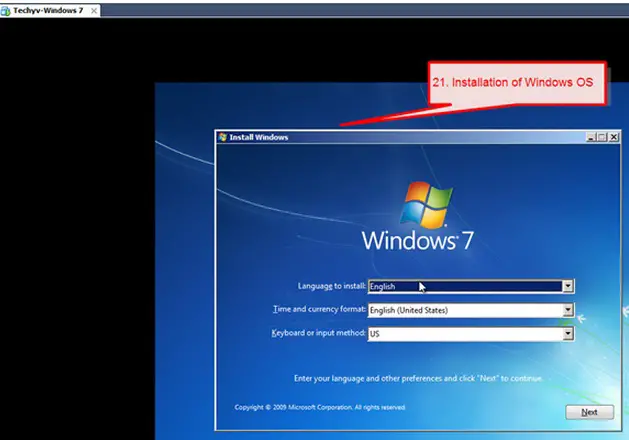
22. After installing the operating system, you can login to the system and you can start working on the virtual machine. There is also an option to change the virtual machine screen resolution to full screen.

Getting started on working on the virtual machine
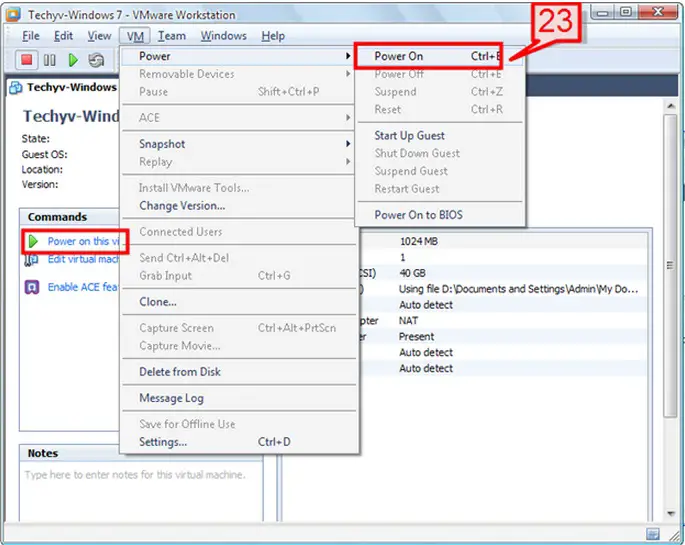
23. To power on the virtual machine select the Workstation menu bar, select VM -> Power -> Power On. You can also do this from the command section window pane, selecting Power On.
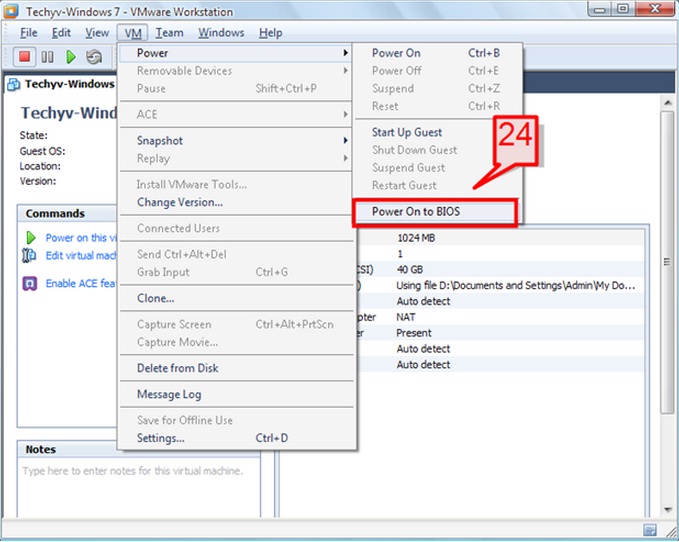
24. To change the BIOS setup of the virtual machine, go to VM -> Power -> Power On to BIOS.
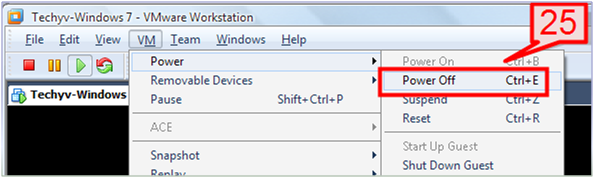
25. To shut down the virtual machine, go to the virtual machine console and shut down the operating system. You may also go to the Workstation menu and select VM -> Power -> Power Off.
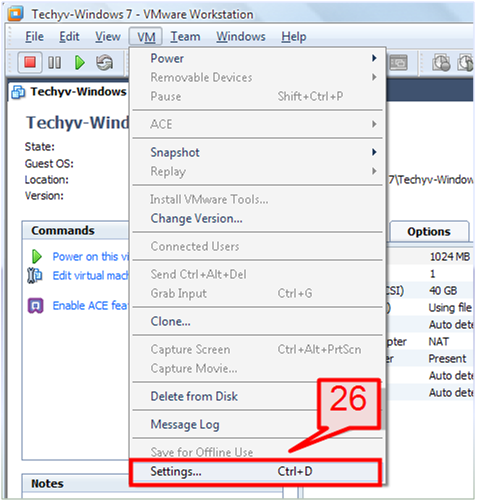
26. To configure the Power off and reset option of the virtual machine, go to VM -> Settings
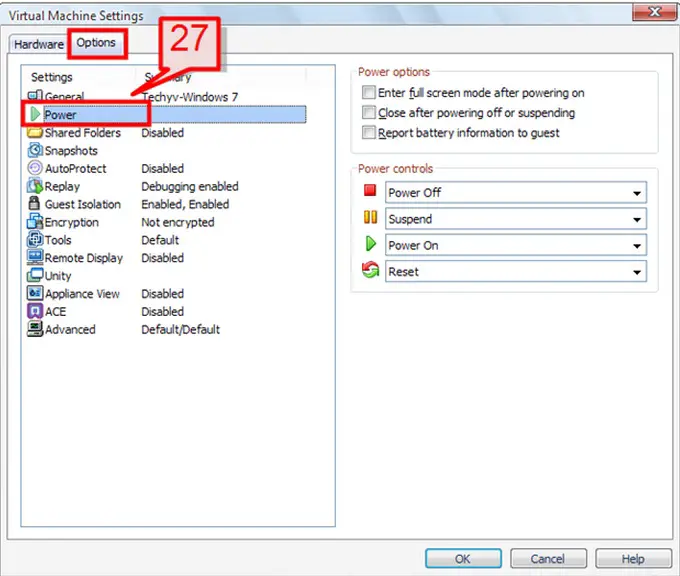
27. Select the Option tab, then select Power.
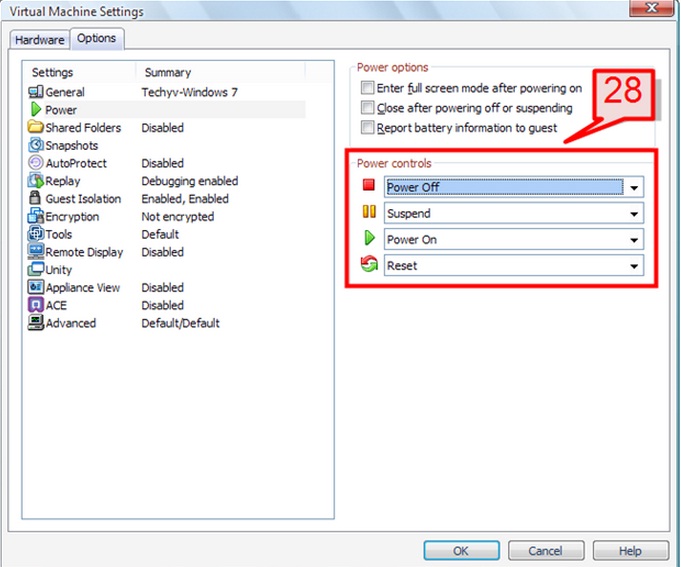
28. From the “Power Control” panel on the right pane, choose from various options based on how you need to Power On, Shut Down and Reset the virtual machine.
Please watch this video for a tutorial of downloading and installing VMware Workstation:


")


