
Hey, why do msoe.dll could not be initialized occurs . Also mentioned the steps to solve the same for the easy understanding. Thank you in advance.
Steps For Msoe.Dll Could Not Be Initialized Solving Easily.
Hello, the msoe.dll could not be initialized occurs due to corrupt files of msoe.dll file if the file is not properly installed or the reinstalling is not done properly so on. Also same problem can be caused during the up-gradation of the internet explorer. Following are the steps to solve the problem:
• First run the virus scan to your computer or system.
• Next, uses the systems restore to make the undo for the recent changes.
• Now reinstall the error faced program which caused the msoe.dll file.
Steps For Msoe.Dll Could Not Be Initialized Solving Easily.
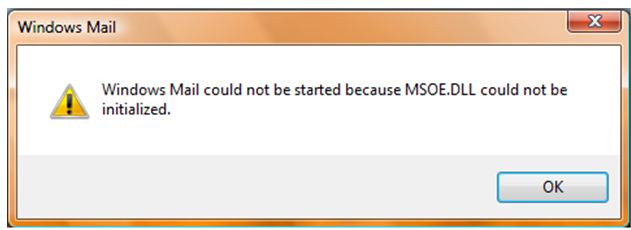
This problem usually happens when starting Windows Mail. The error message reads “Windows Mail could not be started because MSOE.DLL could not be initialized”. Many users have encountered it but the way they fixed it varies from one another. If you are using Microsoft Windows Vista, try this. You need to disable User Account Control or UAC.
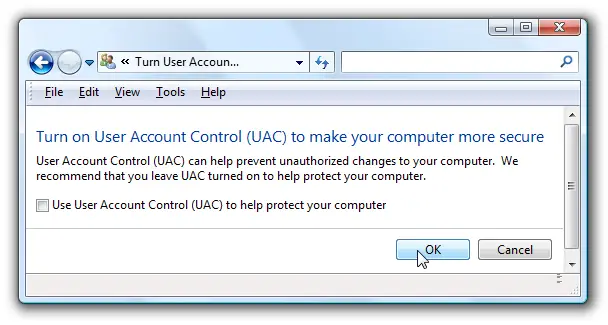
Note: User Account Control can be annoying but disabling it will bring you a less secure system. Go to or open Control Panel and type without quotes “uac” in the search box then click “Turn User Account Control (UAC) on or off” from the search result. On the next screen, uncheck “Use User Account Control (UAC) to help protect your computer” then click “OK”.
Restart your computer for the changes to take effect. After booting, create a new user account then restart the computer in Safe mode. To restart in Safe mode, restart your computer normally then press F8 before the Windows logo appears. In “Advanced Options Menu”, select “Safe Mode” then press Enter twice to boot the computer in Safe mode then log in to the user account you just created.
After logging in, restart your computer normally then log in back to the user account you just created. Try launching Windows Mail then complete the configuration. See if this works. If this doesn’t work, try this instead. Click “Start” then in the search box type without quotes “regedit”. Click “regedit” from the search result to launch it then go to “[HKEY_CURRENT_USER\Software\Microsoft\Windows Mail]”.
Right-click “Windows Mail” then select “Export” to backup this key. Type a name for the backup and click “Save”. Make sure Windows Mail is not running or close it if it is running. Right-click “Windows Mail” again then select “Delete”. After this, start Windows Mail and see if it works.


