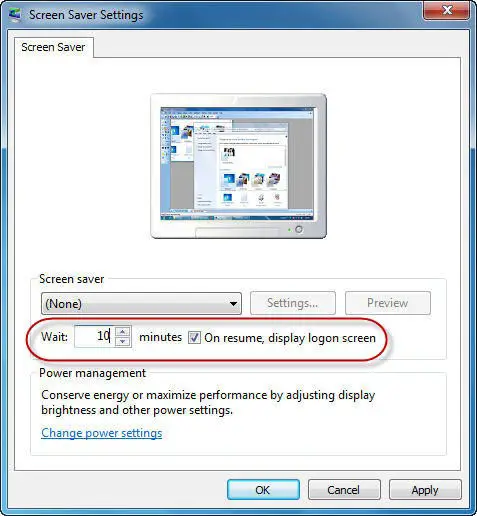
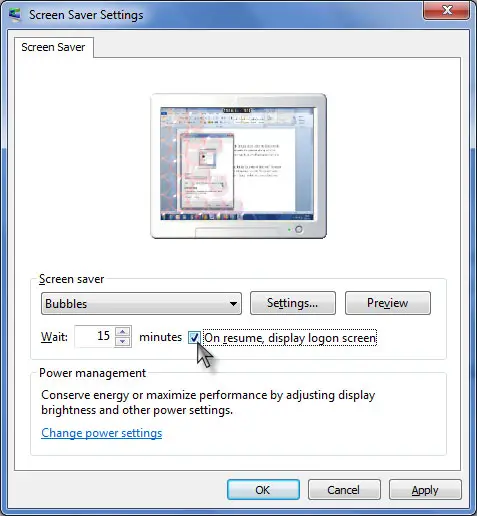
Steps For ‘how To Change The Auto-lock On Windows 7’
Asked By
50 points
N/A
Posted on - 08/05/2019

Can you share the steps for ‘how to change the auto-lock on Windows 7’?


