Resolving Reported Error 0x8004010F In Outlook 2010.
Asked By
joan d vogt 10 points N/APosted on - 04/25/2017
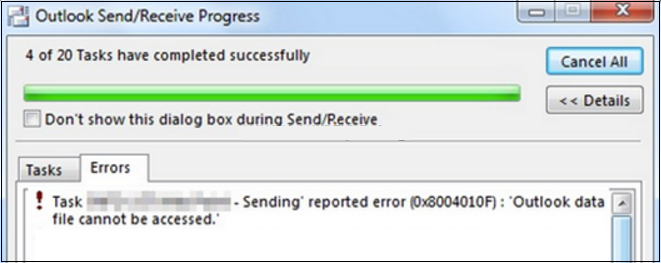
Outlook 2010 has been a good companion of mine for some time now. But, it started acting bizarre when I tried to send an email and returned reported error 0x8004010F. What is it?
Resolving Reported Error 0x8004010F In Outlook 2010.
The error 0x8004010F is caused by the Outlook profile that is corrupted. Create a new profile to fix it. To create a new Outlook profile, follow these steps:
Go to Control Panel from Start and click Mail.
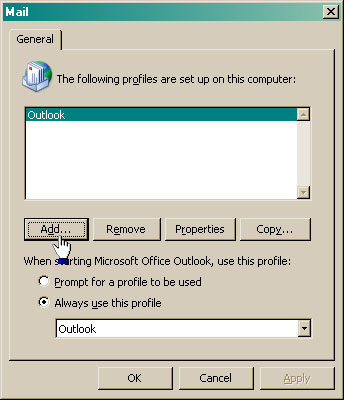
Click Show Profiles in the Mail Setup-Outlook box and click Add on the General tab.
Type a new profile name in the dialog box and click Ok.
Type the e-mail information and go to Next. Finish the procedure.
Resolving Reported Error 0x8004010F In Outlook 2010.
When you try to send or receive an email message using Office Outlook 2010 or Office Outlook 2013, you might encounter receiving “0x8004010F: Outlook data file cannot be accessed” or “0x8004010F: The operation failed. An object could not be found”. The problem is caused by corrupt Office Outlook profile.
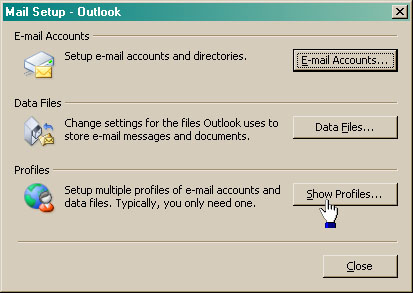
To fix the problem, simply create a new profile. Click “Start”, “Control Panel”, “User Accounts”, and then “Mail”. In “Mail Setup – Outlook” dialog, click “Show Profiles”.
Office Outlook show profiles
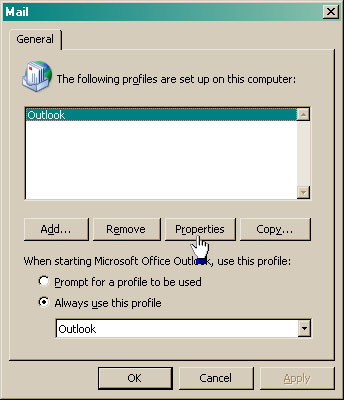
On the next screen, select your Outlook profile then click “Properties”.
Office Outlook select profile
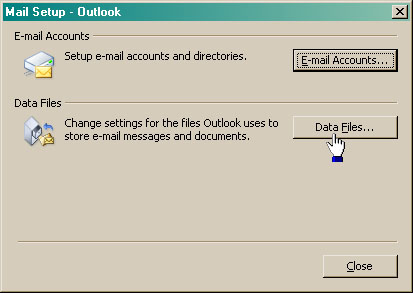
On the next screen, click “Data Files”.
Office Outlook data files
In “Account Settings” window, in “Data Files” tab, take note of the complete path of the PST file for your profile. It normally has a check to indicate it is the default data file.
Office Outlook get path
When you are finished, click “Close”. Now, to create a new profile, repeat the same steps until you reach the “Mail” dialog. In “Mail” dialog, click “Add” this time then enter a new profile name.
Office Outlook add new profile
Next, follow the same steps when you first create and setup a new account in Office Outlook. Make sure the incoming and outgoing servers are correct as well as the protocols used and their respective port numbers. Once a new account has been created, you need to configure Office Outlook to use the new profile you created as the default profile.
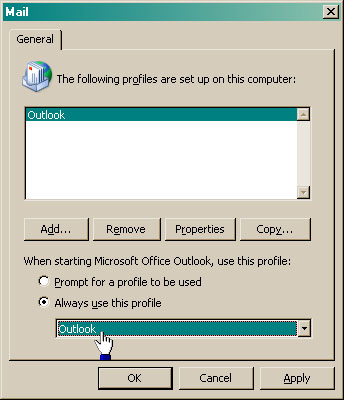
To do this, in the “Mail” dialog, under “When starting Microsoft Office Outlook, use this profile”, select “Always use this profile” then select the new profile you created from the dropdown list. Click “OK” when you are finished. See if this works.
RICH Miner officially launches a new mobile cloud mining application, subverting the traditional mining model! No need to buy mining machines, no technical experience required, just a mobile phone, global users can start the...
I’m not a tech geek. I don’t keep up with every new gadget launch. I fly a few times a year, watch many movies on my phone, and live in a small apartment where...
With 2025 just around the corner, it is time to start thinking about what tech trends will be coming our way. Tech moves at a rapid pace. Some things may pop up next year...
The finest laptops are powerful enough to do your daily tasks, comfortable enough to use all day, and power-efficient enough to ensure you don't run out of battery power unexpectedly. Of course, all these...
Before getting into knowing the facts, let’s have a brief about the Dark Web. The dark web is the data of the World Wide Web that is accessible only through special software, combinations, or...
While looking for a chemical-free way to clear and purify both durable and low grounds in your home, a steam cleaner is an excellent solution. With a spurt of superheated steam, this cleaning equipment...
Internet monitoring software keeps a log of all internet activities. You can install this type of software on your computer remotely or by the administrator. An operating console controls this software. This type of...
A Hard Disk Drive is usually partitioned into various smaller drives for optimization. A partition manager helps make this process easier and more efficient. Here, let’s discuss the top 10 best partition manager software.
1....
Music production is the initial stage of any song. Music production can be done either in studios or at home using an online music production software. Here, let’s discuss the top 10 best online...


