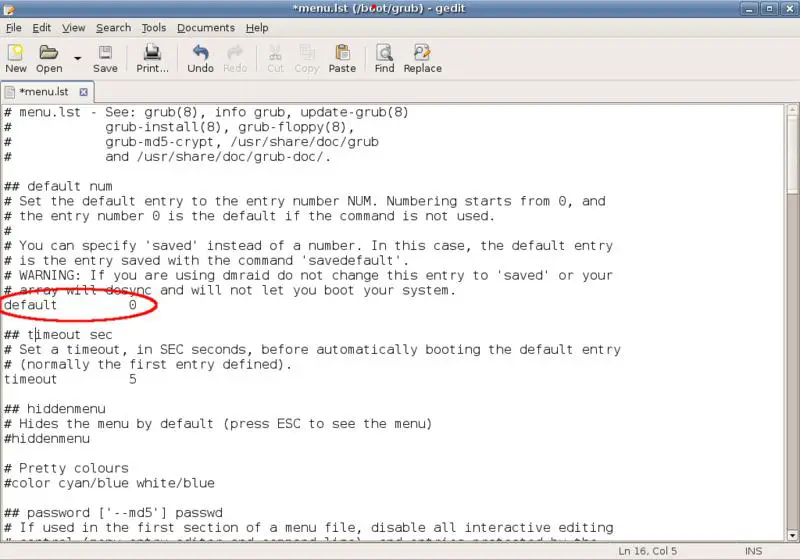
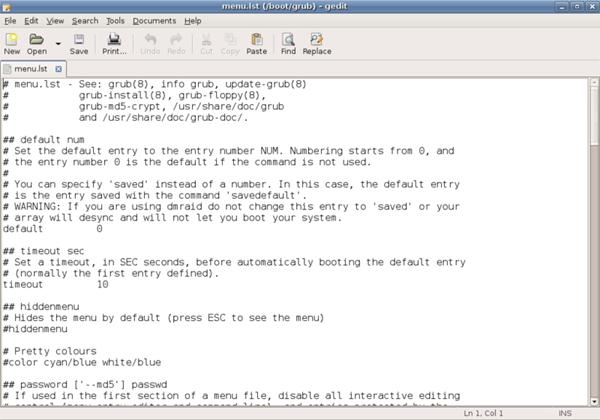
How to configure GRUB Bootloader in Mint Linux/Ubuntu?
Asked By
10 points
N/A
Posted on - 10/25/2011

Hi all,
How to configure GRUB Bootloader in Mint Linux / Ubuntu?
Thank you all


