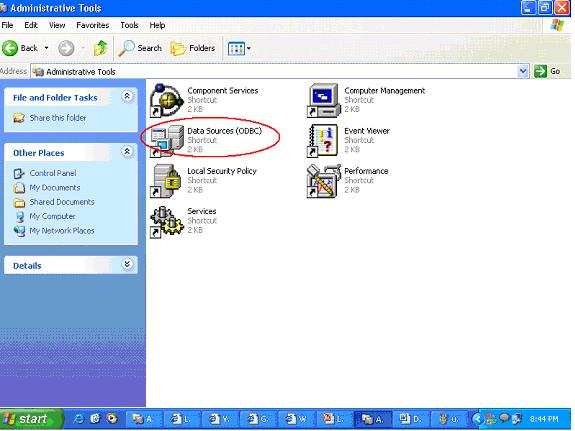
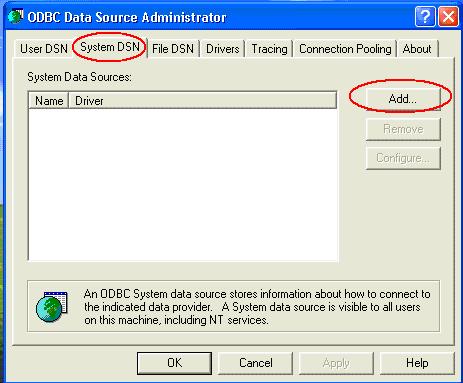
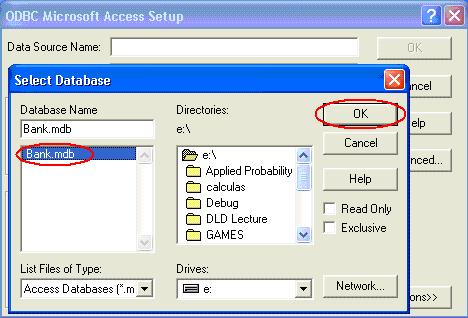
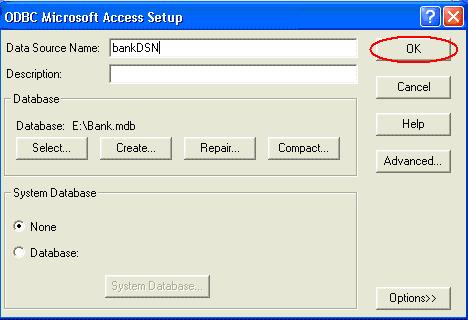
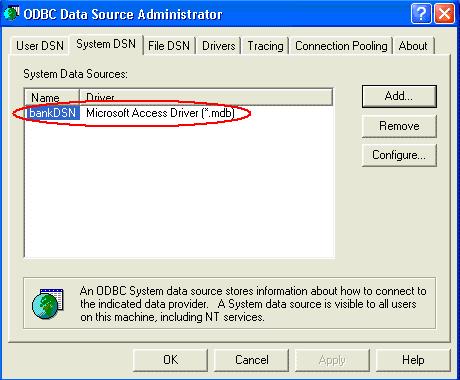
How to create DSN in Window XP?
Asked By
10 points
N/A
Posted on - 07/29/2011

Hi,
How to create DSN in Window XP? Please tell me its complete detail.
Regards,
Peterrsulliva


")


