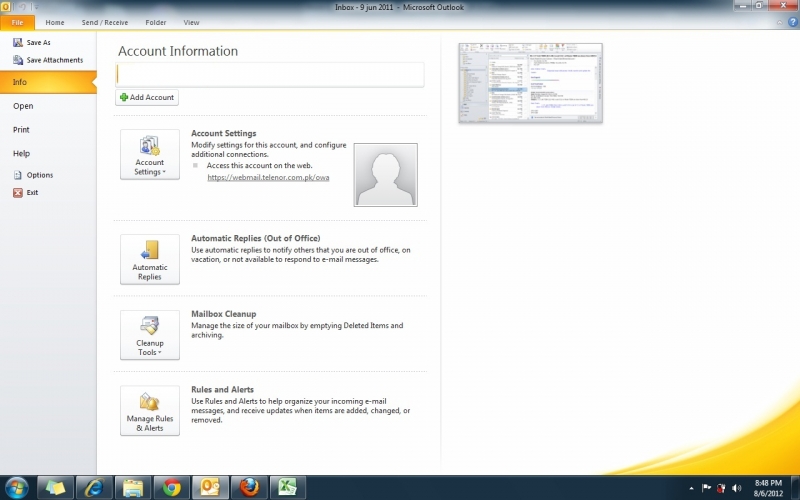
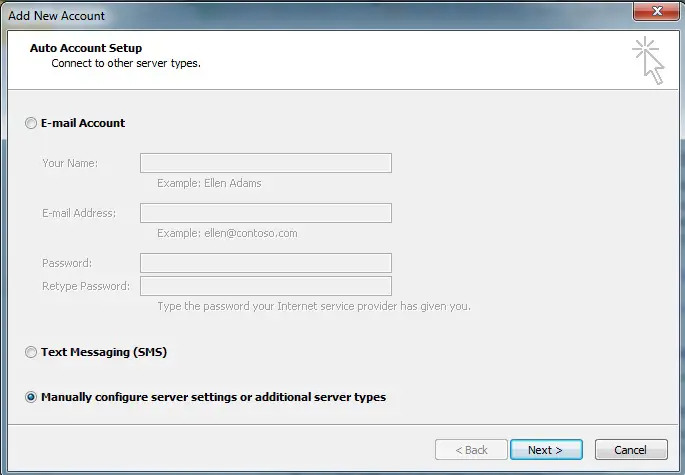
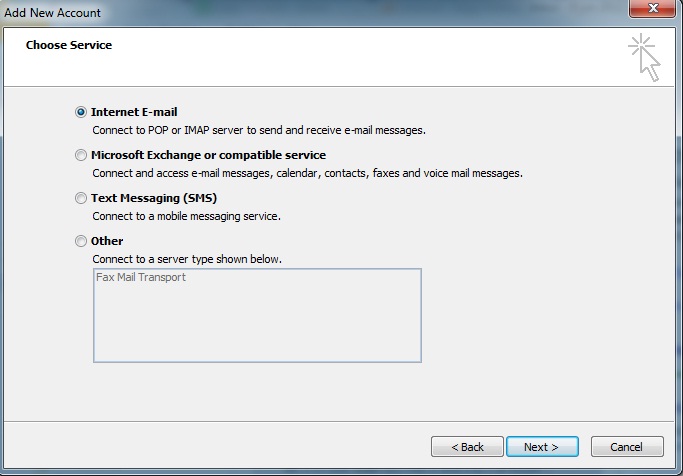
How to Configure Gmail in Outlook?
Asked By
0 points
N/A
Posted on - 08/06/2012

How to configure Gmail Account (Google Mail) in Microsoft Outlook 2010.


")


