Transitioning From Exchange Server 2003 To 2007 (SP3) Part-1
This article will explain in detail about how to transit from Exchange server 2003 to Exchange server 2007. First, let me explain the scenario illustrated below.
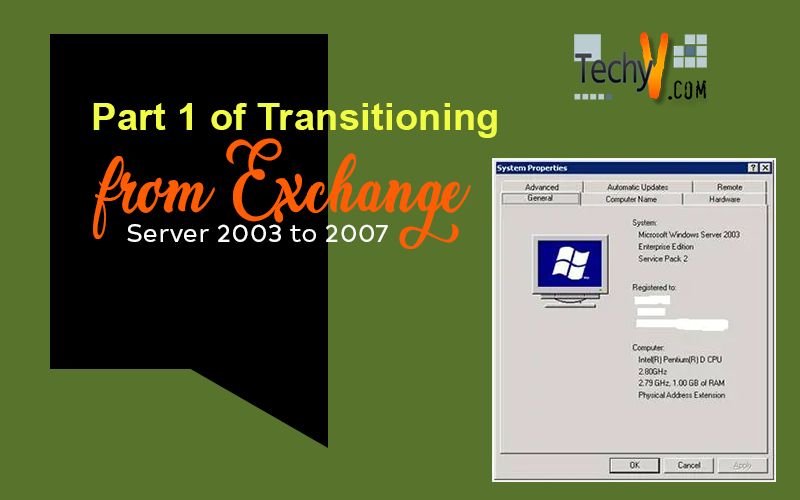
We have one domain controller which is running on a Windows Server 2003 with SP2 Enterprise Edition (32 Bit). The same computer is also holding the roles such as the DNS, Global catalog and Schema master.
Another computer which is running on a Windows Server 2003 R2 with SP2 Enterprise Edition (32 Bit) is already installed with Microsoft Exchange Server 2003 with SP2.
DOMAIN CONTROLLER CONFIGURATION/HOSTNAME:
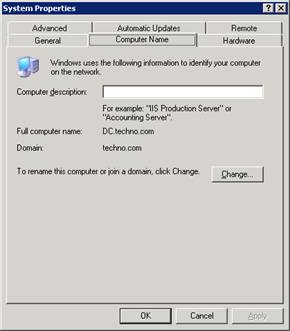
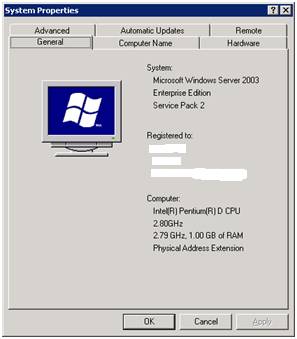
EXCHANGE SERVER 2003 CONFIGURATION/HOSTNAME:
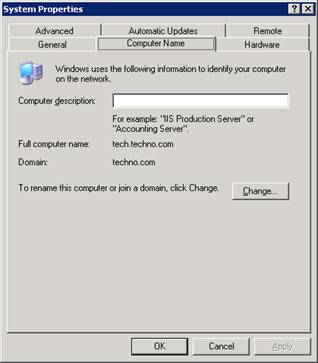
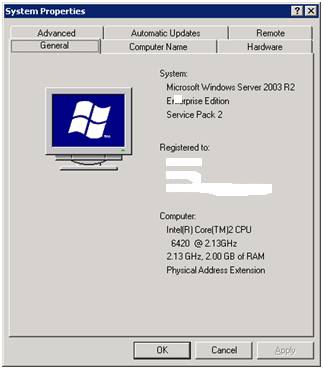
The computer name and IP address assigned to each computer are listed below:
- Domain Name : techno.com
- Domain Controller Name: DC.techno.com (172.21.250.206)
- Exchange Server 2003 Name: TECH.techno.com (172.21.250.208)
- Exchange Server 2007 Name: TECHEXCHG2007.techno.com (172.21.250.216)
We will go through the existing setup and confirm if everything is working fine. First of all we will examine the DC. Below are the screenshots which will help explain the functionalities of the domain controller.
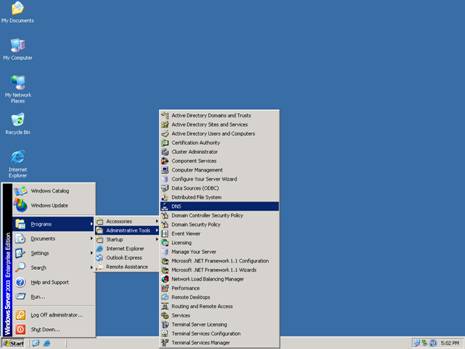
Go to Start > Programs > Administrative Tools > DNS – Click on DNS
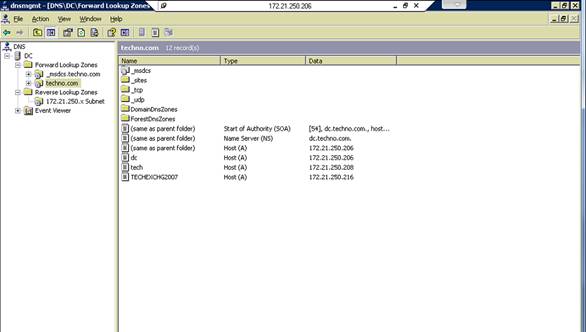
Once the DNS Server is open, expand the DNS Server. Next, go to Forward Lookup zone and Select the domain Zone (Techno.com). Ensure the appropriate Host records created for all three servers (DC, Exchange 2003 and Exchange 2007). Even though we haven’t started the Exchange 2007 installation yet the machine is already installed with Operating system and is ready to use.
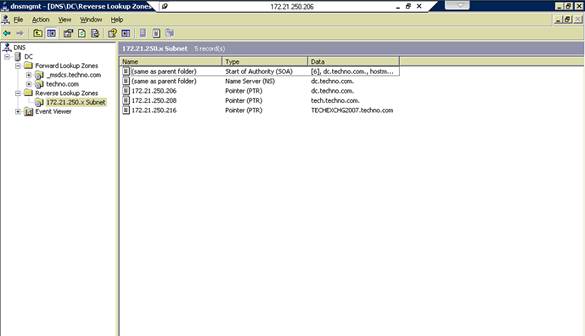
Now go to reverse lookup zone and ensure pointer (PTR) records are created for appropriate servers.
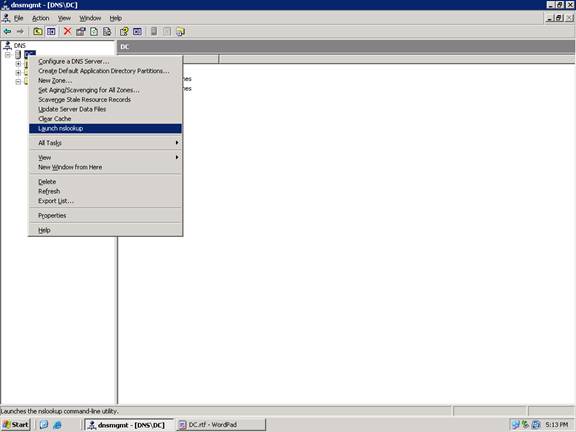
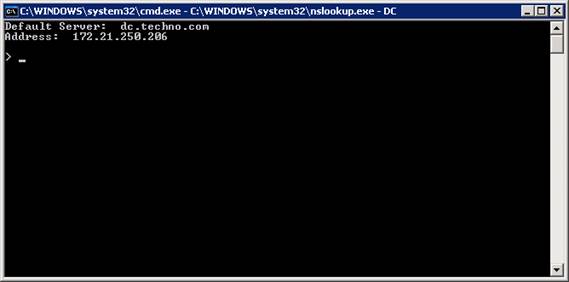
On the left side menu on the same console, right click on DC and select “Launch nslookup” option. When the command prompt window opens, check the result and ensure that the name resolution is working fine.
The command prompt window below shows the name resolution is working fine. (Alternatively, you can directly open the command prompt and enter the command “nslookup” to check.)
Now we will check the functionalities of Exchange server 2003 and configuration from the below screenshots.
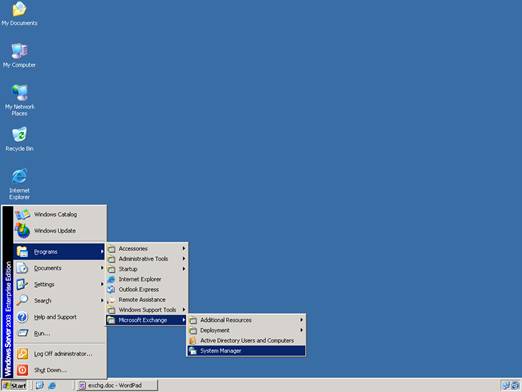
Go to Start > Programs > Microsoft Exchange > System Manager
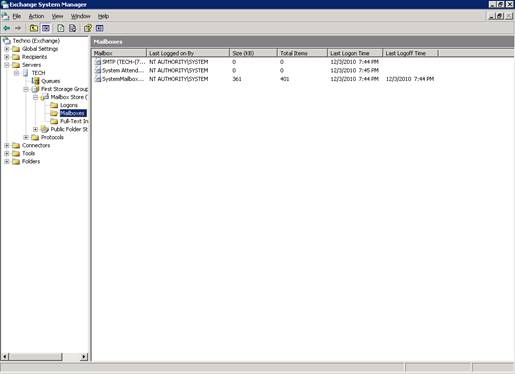
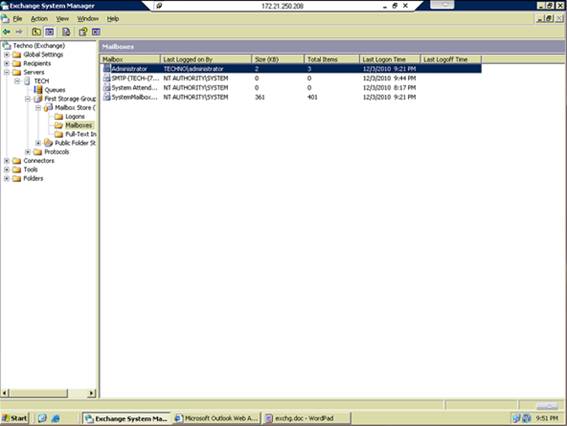
When you install the exchange server 2003, you can only see the system mailboxes created by default. Also a mailbox will be created for the administrator. If you observe closely, the console does not display the mailbox for admin. This is because the administrator has yet to send or receive any mail content in his mailbox. Once administrator starts to send or receive emails, the mailbox will be visible.
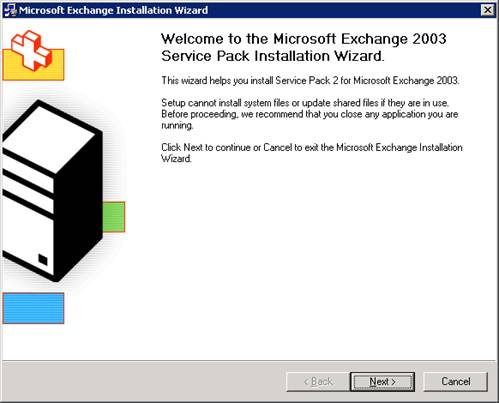
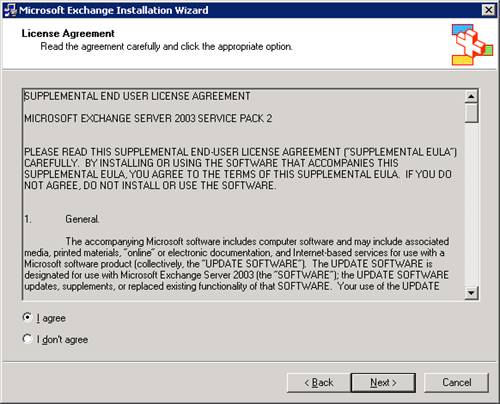
Before continuing to transit to exchange 2007, the first requirement is a running exchange service pack 2 or later. So, we are going to install the Service pack for exchange 2003 server. Download the service pack and double click the file. After extraction of service pack files, click on update.exe file. The installation wizard will start as shown below.
Read the License agreement carefully and accept the agreement to continue.
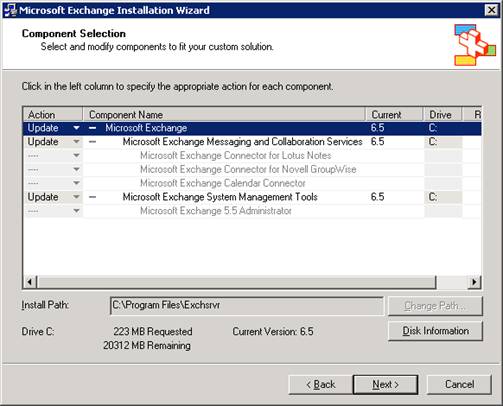
Select the components you want to update in the service pack. By default the messaging and collaboration service along with system management tools will be selected. If you have any connectors that you want to update, select that as well. Then, click next.
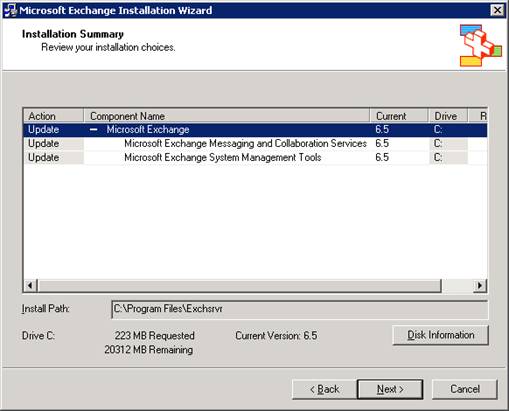
Review everything and confirm if all options selected are correct. When you’re done, click on next.
Make sure that the update wizard has started.
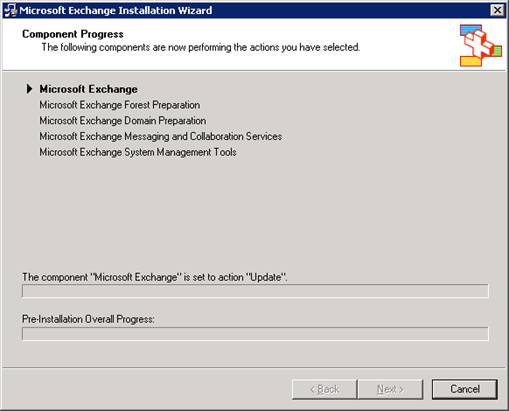
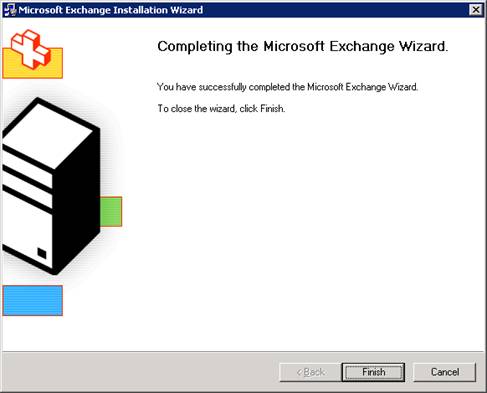
Once the update is completed, click on Finish and reboot the server once.
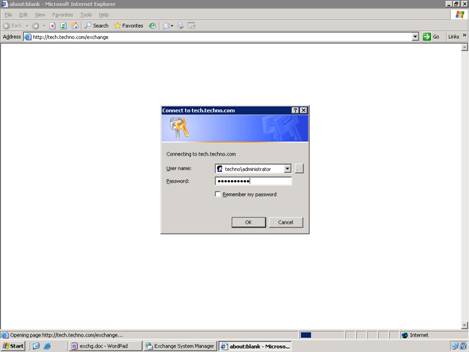
After the reboot, open any web browser, like the Internet Explorer for instance, to check the functionality of OWA. On address bar, type the exchange 2003 server FQDN as provided below.
http://tech.techno.com/exchange
Upon the access of this URL, an authentication is required. This will make use of the authentication details of the administrator. (As of now we only have one built-in user with mailbox …i.e. administrator. We have not created any users yet.)
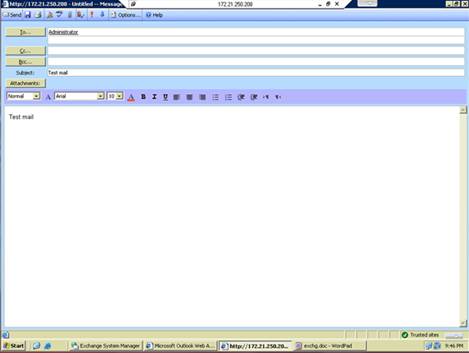
After logging in to the OWA, compose an email addressed to the administrator. Check whether the mail flow is proper and if the mail is sent to the administrator’s mailbox.
Once the administrator’s mailbox has started to receive some contents, it will immediately be visible in the mailbox name in the system manger console under mailboxes option.
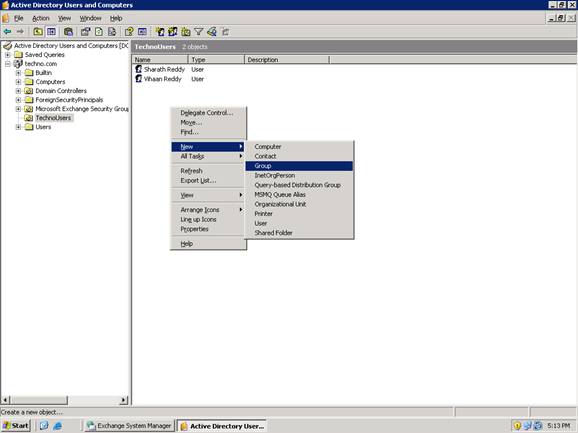
Now, I have already created two AD Users “Sharath Reddy” and “Vihaan Reddy” and have enabled the mailbox for them. Apart from the administrator, two users are also having mailbox enabled. Before the transition, we are going to create a contact and Distribution list and check what is going to happen to these accounts after transition. Right Click the TechnoUsers OU and select New > Group
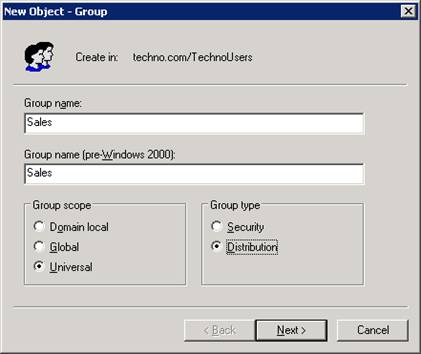
Select the Group scope and Group type as per the requirement. In our case I am going to create a Universal distribution group.
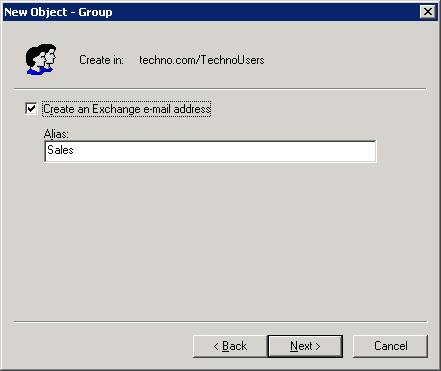
Select the Alias name for the Group and enable the checkbox to create an email ID for the DL. Click Next.
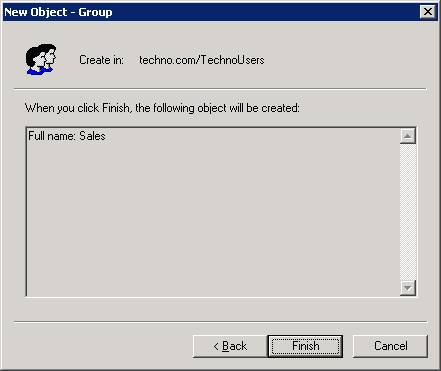
Review the name and click finish.
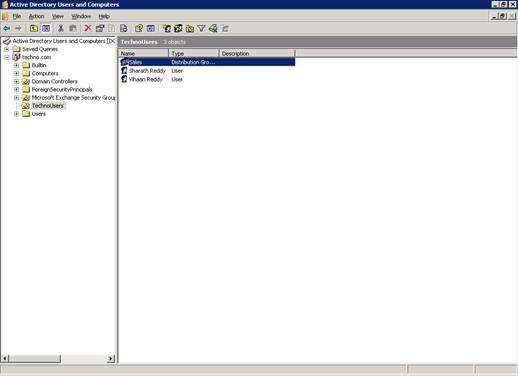
After that, the newly created users and computers will be displayed in the Active Directory.
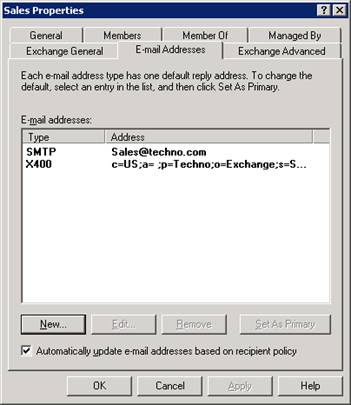
Go to the properties of the distribution Group that we just created and select the email address tab. Check the email ID created for the DL. If anyone sends an email to DL email ID, it will be delivered to all users who are members of the DL.
Now, we are going to create an AD user without mailbox and later we will promote the user as mail enabled user.
Note: Mailbox enabled and mail enabled users are totally different. Mailbox enabled users have mailbox in internal mailbox server and mail enabled users have some external email ID and their mailboxes will be stored in external mailbox server.
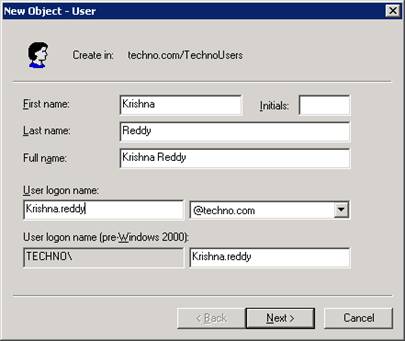
Right Click the OU Technousers and select New > Users and fill the details. Click next.
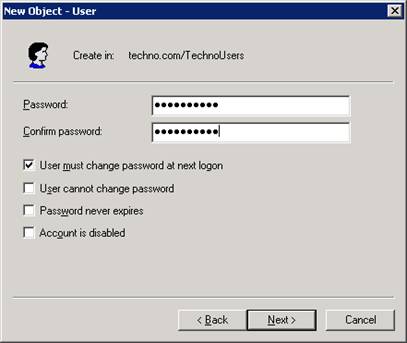
Provide a password and confirm password. Enable users to change their password during their first login (Recommended).
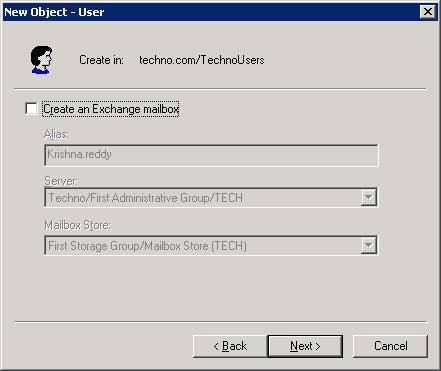
By default, when you create a user, a mailbox will be created. Since the user is going to be a mail enabled user, we will disable the mail box option.
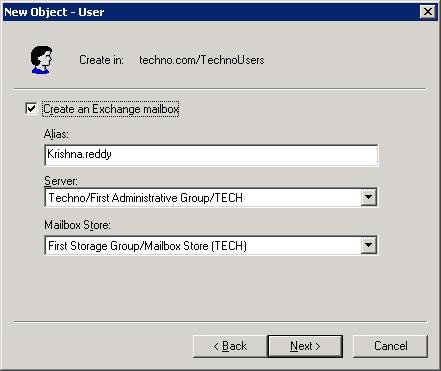
Uncheck the option “Create an Exchange mailbox”.
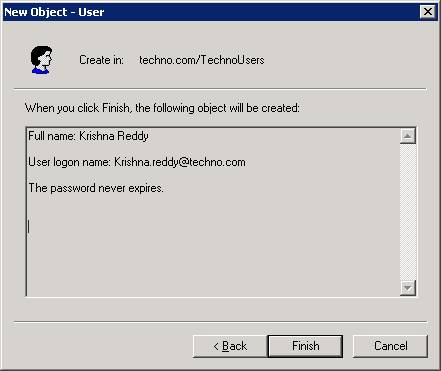
Review the details and click finish.
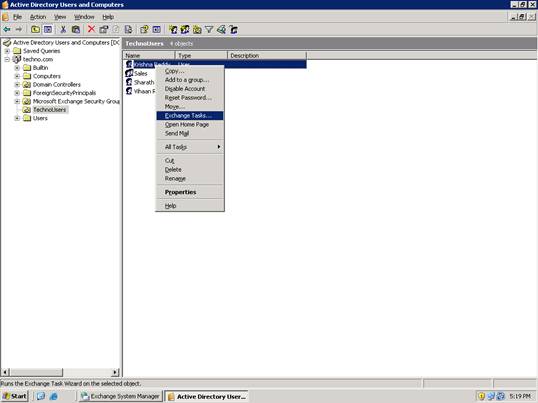
Now the new user is created in AD. Right click on the user and select “Exchange tasks”.
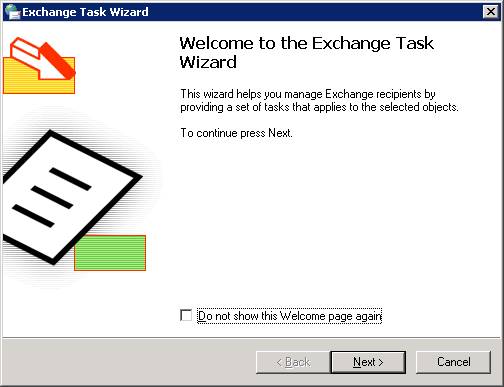
The exchange task wizard will start and click next on welcome page.
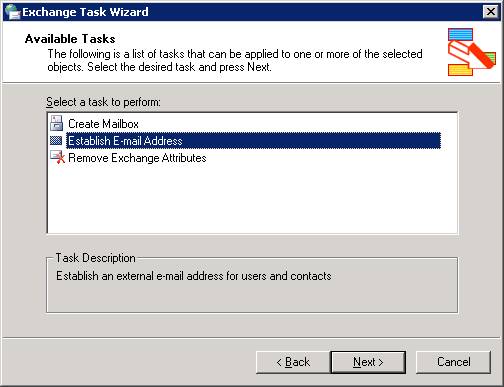
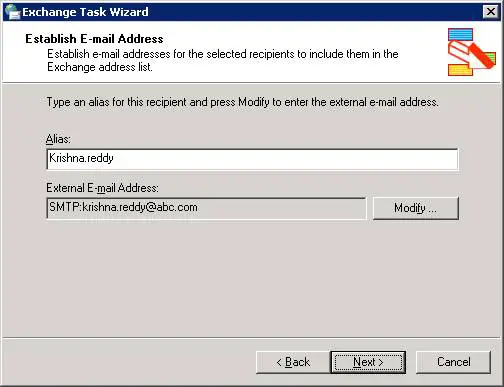
If you select the first option, the mailbox will get created in our local mailbox server and the user become mailbox enabled user. So, select the 2nd option which is the “Establish Email Address” and click next.
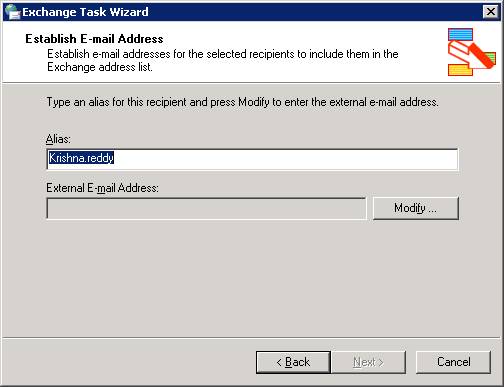
Now click on Modify.
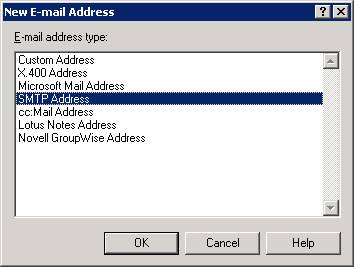
Select the e-mail address type as SMTP Address (or other applicable type) and click OK.
Enter the external email address (Example: for any contract worker enter their organization email address). Click Ok.
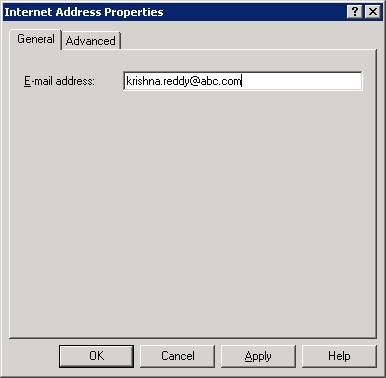
Click next.
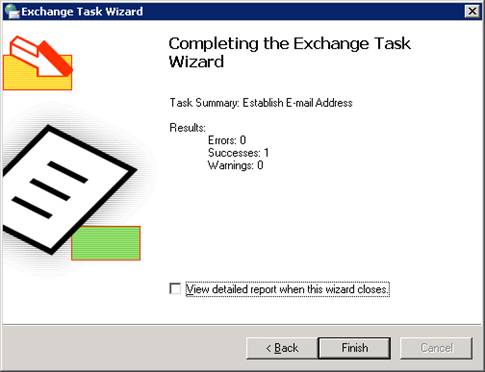
Click Finish.
We will also create one Public folder.
Go to exchange System manager console and Expand Folders > Public Folders > Right Click > New > Public Folder.
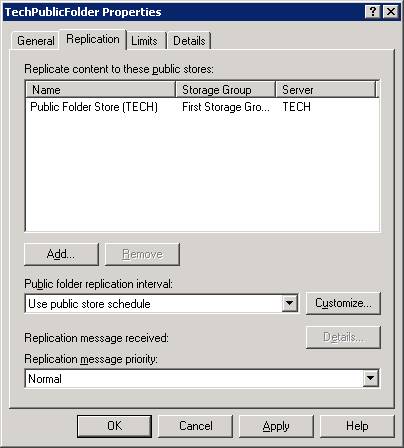
Enter the public folder name and replication details.
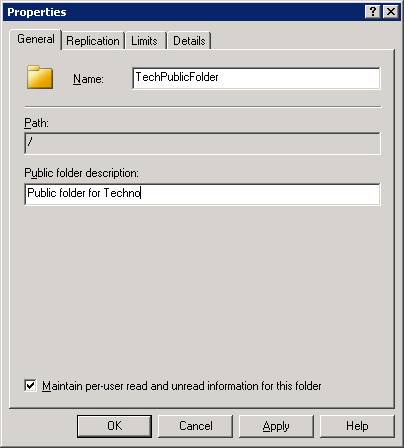
After the installation of Exchange server 2007, we need to add the 2007 server name as replica server.
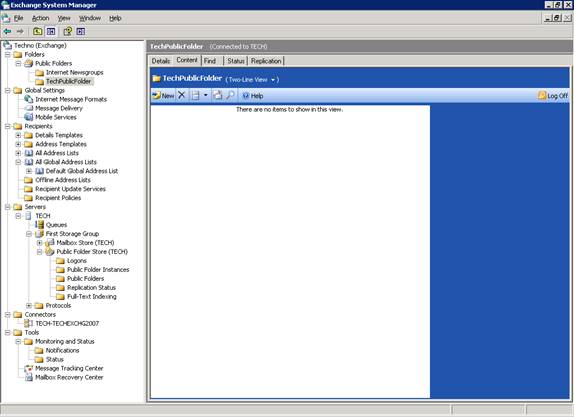
In the same console you can see the content using the web console. Click the Content tab.
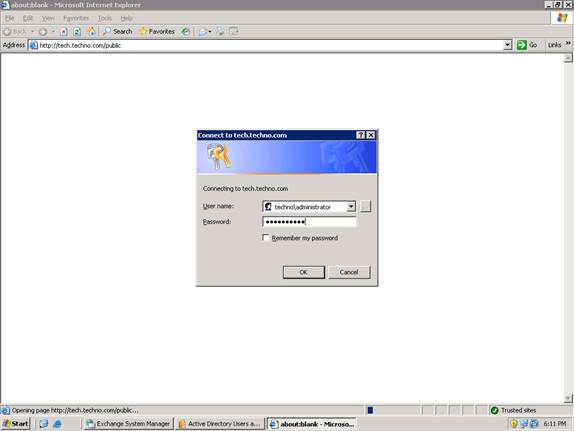
Alternatively the public folder is accessible through the URL http://tech.techno.com/public and enter the credentials.
Now, you are able to view the public folder contents through web browser.
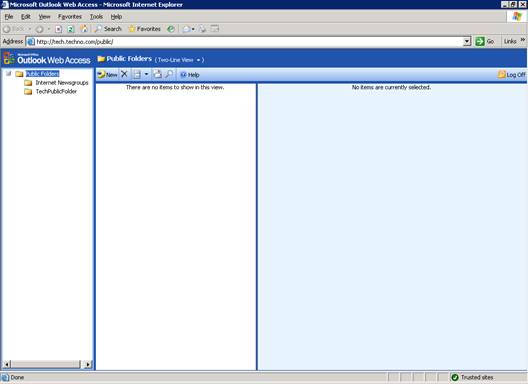
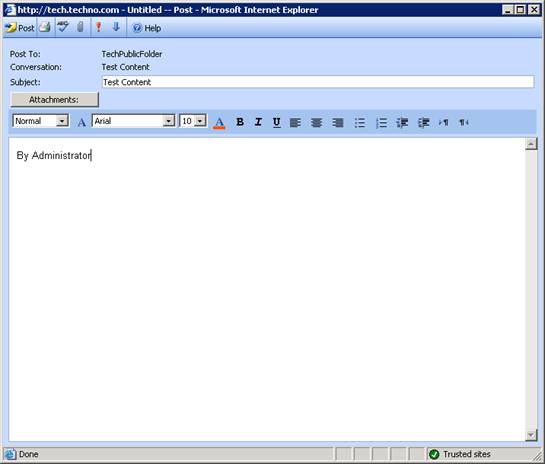
Click new and you are now able to post the content to the public folder. If you enable the mail in the public folder, you can now directly email the contents to the public folder email address and automatically post in PF.
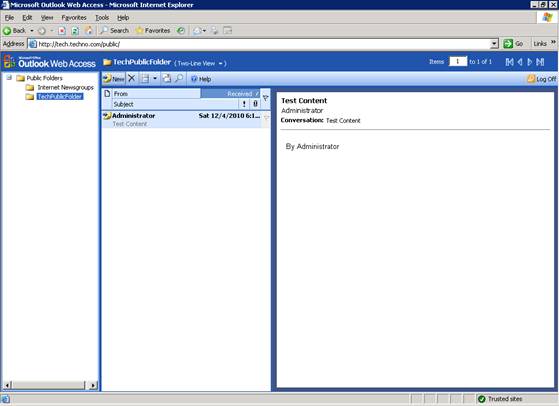
The below screenshot shows the message/content is successfully posted.
This is the end for the part 1 of the articles. This article gives a clear view about an existing windows AD and Exchange infrastructure. Now we are able to send/receive emails, post the public folder contents and create mailbox enabled users, mail enabled users and contacts. In the 2nd part of the article I will explain about how to prepare the existing exchange 2003 organization for exchange 2007 installation and how to install exchange 2007. Thanks again for reading.
Here are links for Part 2 & 3


