
Installation of Windows Vista
An easy guide for installing Windows Vista in the system. This is an easy step-by-step guide to install Windows Vista.
Requirements:
First we have to read the requirements for Windows Vista installation in the system. Every Windows Operating System has different requirements. Here, we are going to install Windows Vista, so our concern is the requirements for Windows Vista. Get any bootable DVD for Windows Vista. Now set the boot device to CD-ROM or DVD-ROM into BIOS setup.
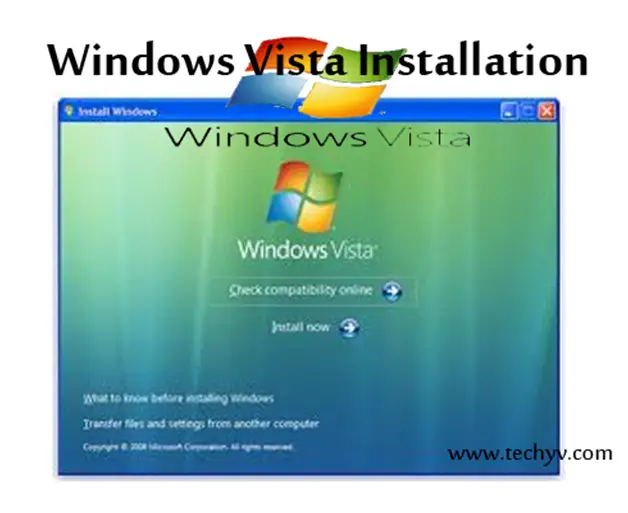
Step I:
After setting the boot device to DVD-ROM or CD-ROM, insert the DVD in to the DVD-ROM. After which the installation process will start
Step II:
Now this step is about language, time and currency format, and keyboard or input method. Enter your language and other specific information, and click next.
Step III:
Here, we have two options; either to Repair your Windows or to install New Windows. We are installing new Windows, not repairing the old one, so select the option “Install Now”, and click next.
Step IV:
Now, enter the Windows Vista product key, which you can find, on the installation disc holder inside the Windows package
Step V:
In this step, after entering the product key, Windows will automatically determine the edition of your product purchased. Check the box, “I have selected the edition of Windows Vista that I purchased”, and click the next button.
Step VI:
In this step, read the license terms and check the box, “I accept the license terms”, and click the next button.
Step VII:
In this step, you will see two types of options; one is “Upgrade” and the other is “Custom (Advanced)”. But here you will notice that the option “Upgrade” is disabled because we have booted from the DVD Now click on the “Custom (Advanced)” option.
Step VIII:
This step is to install the Windows in the drive where do you want to install your Windows? If you have the new un-partitioned hard drive, you will get your hard drive. If you have the old, partitioned hard drives, it will show as logical drives. You can select the drive option “Advanced”, to delete, format, and create a new one. But we are using a single hard drive that’s why we will just click on next.
Step IX:
In this step, Windows will start copying the files to your system as shown in the image. It will pass through various stages and will reboot your system a few times. When your system reboots, it will automatically attempt to boot from the DVD. Now, during the reboot prompt, do not press any key, as Windows Vista will continue the installation by booting it from the drive.
Step X:
After installing the necessary files to your system, you have to enter the username and password. The account you created here is the administrator account. Now, enter your desired username and password then click on the next button.
Step XI:
Now, you need to enter the computer name and the desktop background. After entering the computer name and selecting the background image, click on the next button.
Step XII:
“Help protect Windows automatically”. In this step, click on User Recommended Settings and click on next.
Step XIII:
In this step, review your time and date settings. Select your time zone, date and time, and click on next.
Step XIV:
You have the login screen. Enter the username and password, and click on the arrow to log in.
Step XV:
In last step, Windows will automatically redirect you to the Welcome Screen where you can configure, customize, and update Windows Vista.
Now, Windows Vista is properly installed and ready to use.


")


