Transform my sempron 140 into athlon 64 x2

Asked By 20 points N/A Posted on -
qa-featured

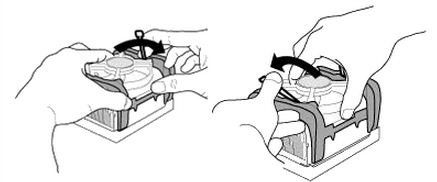
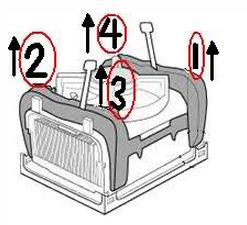
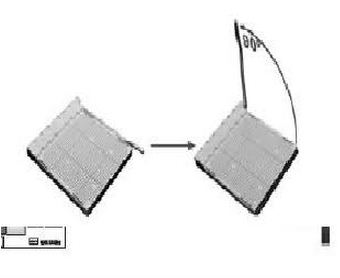
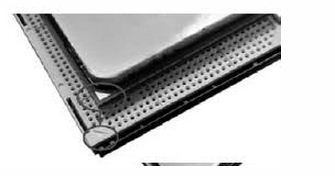
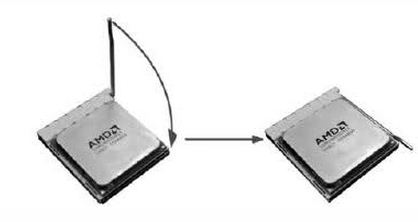
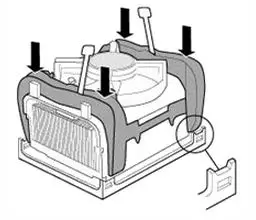
I need some help on, how can I transform my sempron 140 into athlon 64 x2? I cant seem to do this. Can I use my motherboard mcp6p m+? Is it really going to convert sempron into athlon 64? What is the procedure?

SHARE
Answered By 0 points N/A #142529

Transform my sempron 140 into athlon 64 x2

qa-featured

Yes, If you're Motherboard is mcp6p m+ then you can upgrade your processor from sempron 140 to athlon 64×2. Check the link for other upgrades that you can do with your motherboard. 

 
Here is the step by step procedure in replacing your Processor:
 
1. First thing you got to do is remove the processor fan cable to the motherboard fan power header. 
 
remove the processor fan cable to the motherboard fan power header
 
2. Open the clips levers in opposing directions, one at a time. 
 
Open the clips levers in opposing directions, one at a time.
 
3. With the clip levers in the upward position, work with each clip one at a time. At first this would be a hassle but it would become easier once you got the hang of it!
 
With the clip levers in the upward position, work with each clip one at a time
 
4. After removing the heat sink fan, you are left with removing the processor (this thing is the one we will be changing). There is a little lever that is visible, pull this up and you can easily remove the processor. And you are done with the first part!
 
pull the lever up and you can easily remove the processor.
Installing a new Processor:
 
5. Okay make sure that you tag the lever a little going to your right then raise the lever up to a 90-degree angle.
 
6. Then the next thing you will do is to look for the white triangle on socket, the gold triangle on the CPU will point towards the white triangle. The CPU will only fit the socket if you follow what I have said.
 
look for the white triangle on socket, the gold triangle on the CPU will point towards the white triangle.
 
7. Press the CPU down, and then close the lever by pulling it down! You are done with the installation of the CPU! The last step would be returning the heatsink fan!
 
Press the CPU down, and then close the lever by pulling it down
 
Final Step:
 
8. Make sure that the heatsink and clip is aligned with the retention mechanism and place it on the processor. With out rotating or twisting, allow the heatsink base to compress.
 
With out rotating or twisting, allow the heatsink base to compress.
 
Firmly push downwards the clip frames so that it will hook to the retention mechanism.
 
Firmly push downwards the clip frames so that it will hook to the retention mechanism.
 
Then just close the clips by pushing the levers in opposite directions. This will require some force so just push it until it locks. After the clips are firmly closed, make sure that the heatsink is retained. You can say that you are successful if you try to move the heatsink and it wont budge.
 
After the clips are firmly closed, make sure that the heatsink is retained
 
Just connect the processor fan cable to the motherboard, and you are done changing your processor!
 
Hope this helps!

Related Questions