How To Upgrade To SSD Drives For MacBook Proto Increase The Speed?

Asked By 0 points N/A Posted on -
qa-featured

Hello everyone,

Please provide me the steps to upgrade to SSD drives for MacBook Pro. I want my MacBook Pro to work faster, so I decide to upgrade it to SSD drives.

SHARE
Answered By 0 points N/A #305089

How To Upgrade To SSD Drives For MacBook Proto Increase The Speed?

qa-featured

Yes, the decision you made for increasing the speed is perfectly right, but before swapping your HDD to SDD, you have two options.

Option1. Install a fresh copy of the MAC OS to the new Solid State Hard Drive.

Option2. Migrate the existing files and settings using a time machine backup to the new solid state hard drive.

If you try option 2, you will need

TORX T6 Screw Driver, #00 Philips screws Driver, a bootable USB Flash drive, a solid state hard drive, MacBook Pro.

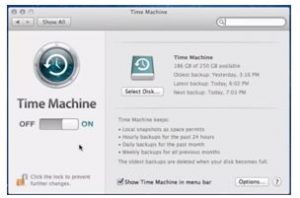
Step1.Go to settings of your MacBook Pro and navigate to a time machine, turn it on and make sure that you have done backup recently.

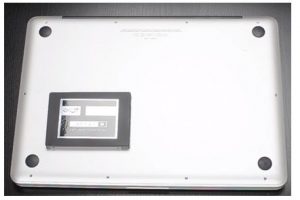
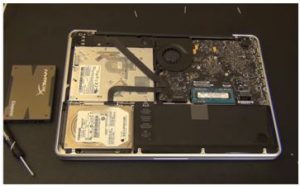
Step2. Remove all the ten screws of your MacBook Pro and swap your HDD to SSD.

Make sure that you have only removed the HDD and replaced it with the SSD and tightened all the screws properly.

Step3. Re-install the Mac-OS.

Connect your bootable flash drive having the OS to the MacBook Pro and turn on the system.

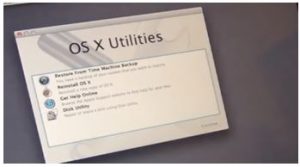
A menu will appear after a couple of minutes when the system is turned-on. Choose disk utilities from OS X Utilities and click continue. Perform re-partitioning of the SSD.

Now when all the process of Disk utilities are completed, exit out of the disk utility and go for Re-install OS X.

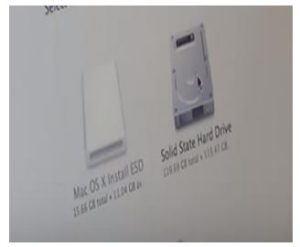
The re-installing process is long so just be sure that when the option comes to choose between which drive you to want to install the OS, you choose SSD.

Step4. Now if you are going with option 1, you are done with all the process, and need not take the time machine backup, but if you choose option 2, down are the further steps.

Now a fresh OS is installed on your MacBook Pro, now go to applications->utilities and find migration assistant and double click on it.

Step5. Now select the Time Machine backup and click continue for every option comes up.

Once it finds a backup, it will again ask you to choose that from where you want to transfer the backup, and you have to select time machine backup and hit on continue.

Step6. Check the files you need and uncheck the unnecessary files and click continue you will get the backup which is saved on your other HD.

Related Questions