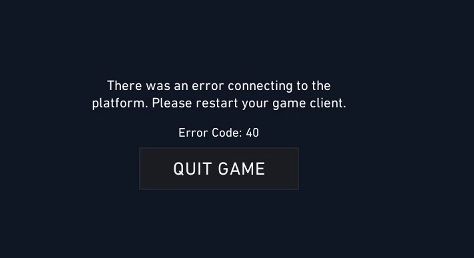
How To Fix Error Code: 40 When Playing Valorant?
Asked By
0 points
N/A
Posted on - 01/19/2021

I just downloaded and installed Valorant and wanted to play it immediately but this error greeted me. My internet connection is fine since I just downloaded it. Is there a workaround or should I uninstall it?


")


