Failed to print my file with error box appeared.
Asked By
0 points
N/A
Posted on - 06/14/2012

When I try to print a file an error message is displayed, see below error image box.
I cannot connect or fix to direct 129.105.203.9.
Why is this?
Please can someone help me solve this problem.
Thanks in advance.
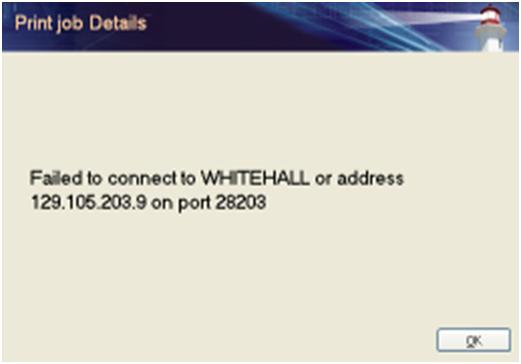
Error:
Failed to connect to WHITEHALL or address 129.105.203.9 on port 28203


")


