Asked By
justin owen
0 points
N/A
Posted on - 07/19/2011

Whenever I plug my USB or any removable device to my computer,
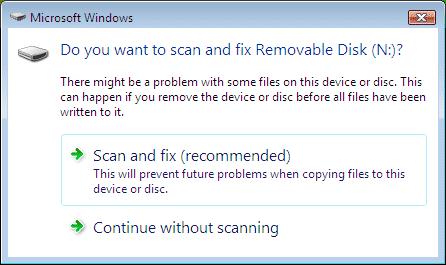
Microsoft Windows
Do you want to scan and fix Removable Disk (N:)?
There might be a problem with some files on this device or disc. This can happen if you remove the device or disc before all files have been written to it.
Scan and fix (recommended)
This will prevent future problems when copying files to this device or disc.
Continue without scanning
I always have this Scan and Fix window appearing from my screen. It is just so annoying that I have to click it again and again when inserting my USB. When I know for a fact that it is safe from any viruses or errors. And I am the only one using this computer so I am certain that this is free from any viruses.
I am using Windows Vista Service Pack 2. I know that it is important, but I want to know if there is a way to disable it.
Thanks.
How to disable Scan and Fix window?
I recommend you to use Scan and Fix as this will help you to be free from any errors or virus that you can accidentally have when inserting your USB or any removable device on other computers. But you can also disable it if you are sure that you have an anti-virus disk with you just in case you accidentally get a virus. Please note also that if you disable Scan and Fix, it will also disable your Autoplay function. (Autoplay also opens when you inserted any removable device)
Here’s how to disable Scan and Fix:
-
You have to be the Administrator to apply this fix.
1. Click Start then type msconfig on the start menu search box. this will open the System Configuration
2. Click the Shell Hardware Detection under Services tab, then uncheck it to prevent it from appearing when you started your windows.
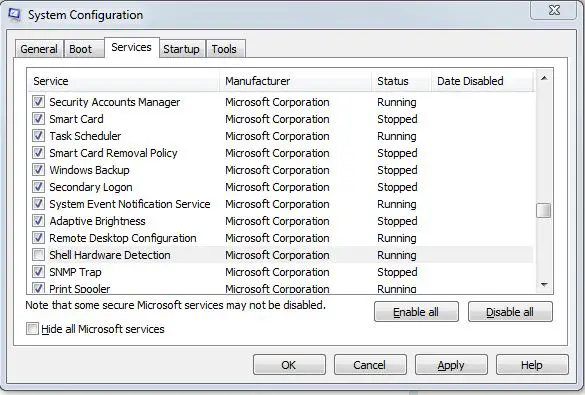
Alternatively, you can also stop this by typing services.msc on Start menu search box. This will open the Services window. Search for Shell Hardware Detection. Double-click it then click Stop under services status.
On the Startup Type, select Disabled from the drop down menu.
3. Click OK then close the Services window.
4. Restart your computer for the changes to take effect.
5. Try to insert any removable device, you will not be able to see the Scan and Fix windows again.
To enable it again, just follow the same steps above, just check the Shell Hardware Detection on the services tab.
I hope this will resolve your problem.
Dolly Young
How to disable Scan and Fix window?
This trick worked! My sincerest thanks to you. You are absolutely the best!


