
Active Directory Installation with DNS and DHCP Configuration – Part 3
Here, we will look at the System configuration required for SCCM. This will include Active Directory installation, DNS and DHCP installation and configuration.
AD with DNS Installation
To configure Windows 2008 server for use as a Domain Controller, follow these steps:
1. Click on Start > Run

2. Type dcpromo > Click OK
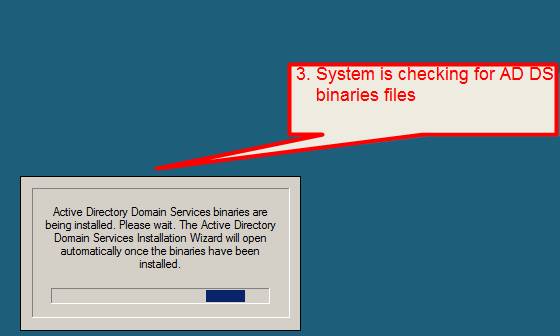
3. Next, the system will then check if the Active Directory Domain Services (AD DS) binaries are installed; if they are not already present, it will install them.
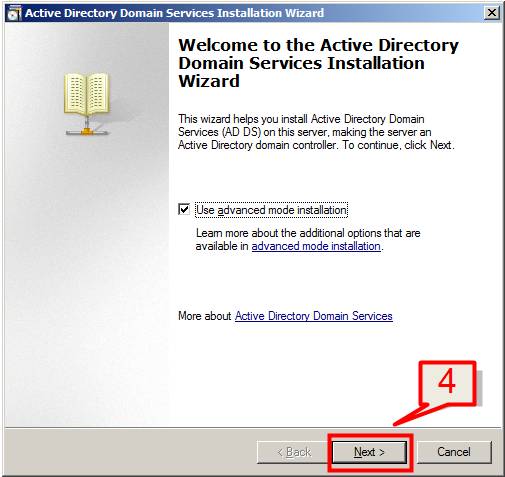
4. The Active Directory Domain Services Installation Wizard will start. If you are an expert or advanced user,check “Use advanced mode installation”, otherwise just click Next
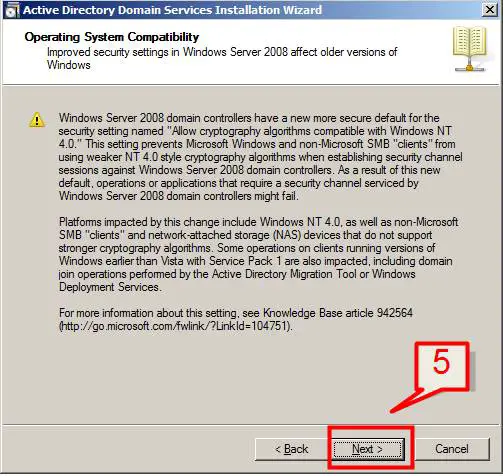
5. The Operating System Compatibility page is displayed and this will brief the user about the improved security settings of Windows Server 2008. Click Next
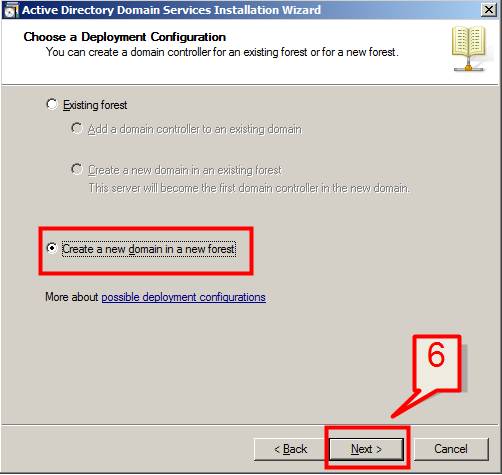
6. Since you are creating a new DC from scratch choose “Create a new domain in a new forest” and click “Next”.
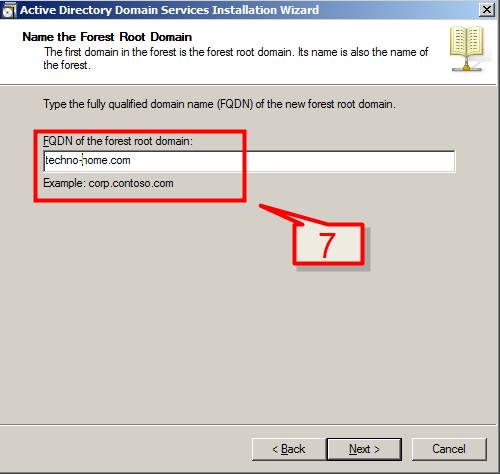
7. Enter the Fully Qualified Domain Name (FQDN) of the new forest root domain inside the textbox andclick “Next”
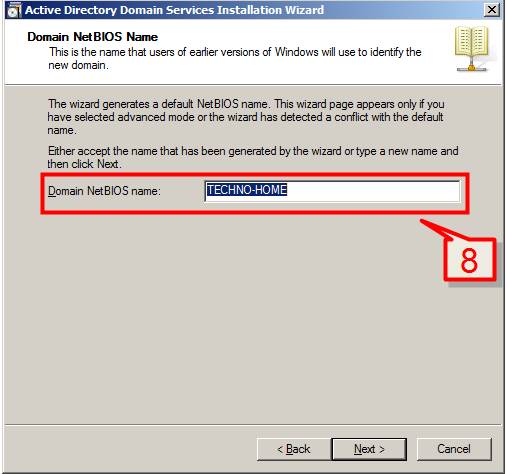
8. If you selected “Use advanced mode installation” on the Welcome page, the Domain NetBIOS Name page will appear. On this page, type the NetBIOS name of the domain or accept the default name and then click next.
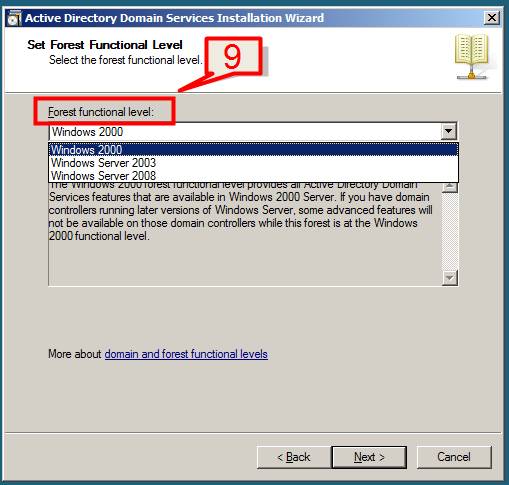
9. Choose the type of Forest Functional Level and click “Next”.
Note: Functional level determines the features of Active Directory Domain Services (AD DS) that are enabled in a domain or forest. If you are creating a new domain or a new forest, the levels can be chosen to the highest values that the environment can support. E.g. If your environment supports both 2003 and 2008 server then you would choose Windows Server 2003 as your Forest Functional Level.
10. If you chose Windows Server 2003 as Forest functional level, then you need to select the domain functional level in next screen. Select Windows Server 2003 and click “Next”.

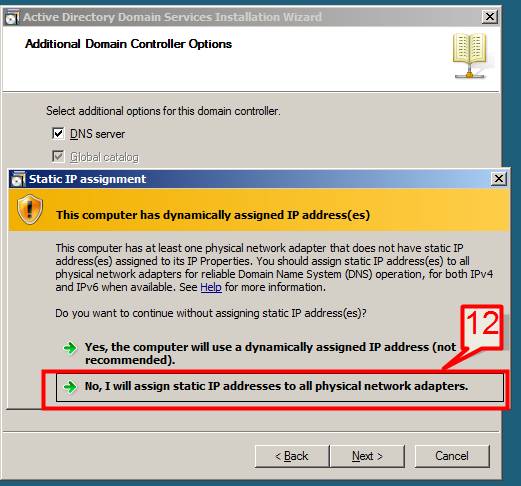
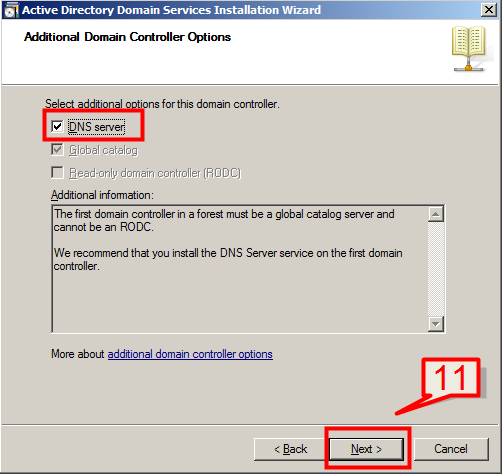
11. In the “Additional Domain Controller Options” page, select to install the domain Name Service (DNS) to your server.
Note: The First domain controller in a forest must be a Global Catalogue; that’s why the checkbox beside Global Catalogue is selected and can’t be unchecked. Also the first domain controller in a new forest or in a new domain cannot be a Read Only Domain Controller (RODC)
Select DNS Server and click next
12. If static IP is not assigned to your server you will see the following screen.Now you need to assign static IP and start the above process.
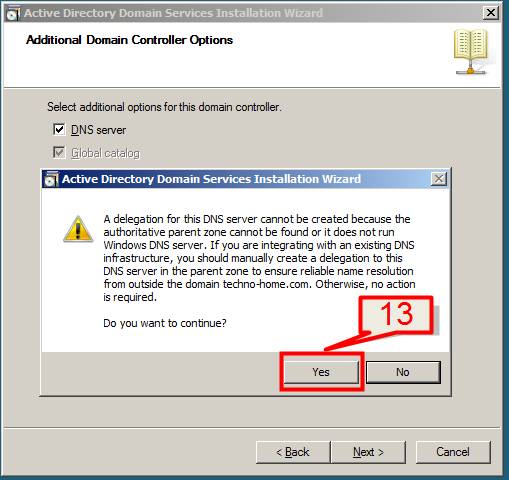
13. The Additional Domain Controller Wizard will now configure DNS. If the wizard cannot create a delegation for the DNS server, it will display a screen to create the delegation manually. To continue, click “Yes”.
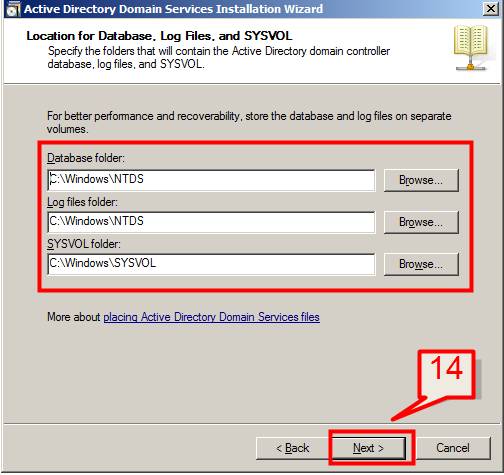
14. The next dialog box will ask where the domain controller database, log files and SYSVOL are stored on the server.
Note: The database folder stores information about the users, computers and other objects on the network.
The Log folder stores information related to AD DS such as an object being updated.
SYSVOL stores Group Policy objects and scripts. By default, SYSVOL is part of OS files in the Windows directory.
Accept the default settings and click next.
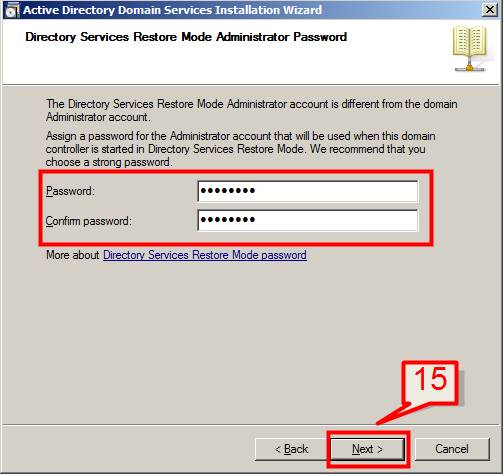
15. In the Directory Services Restore Mode Administrator Password page, type a password then confirm it and click next.
Note: This password is used to start the Domain Controller in “Directory Services Restore Mode”.
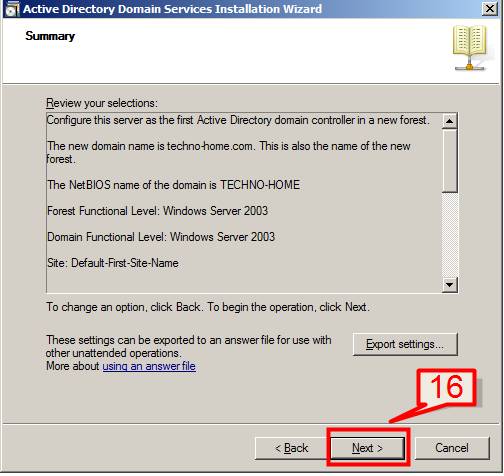
16. Next, the AD DS installation wizard summary page will be displayed. This is where you have the chance to review and maybe modify your settings. This screen also provides an option to Export Settings that can be saved in an answer file that can be used in an unattended operation.
Review the summaryand once you are happy,click “Next”
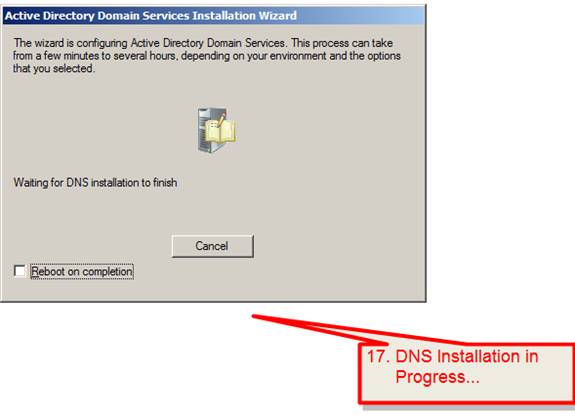
17. DNS installations will then start.
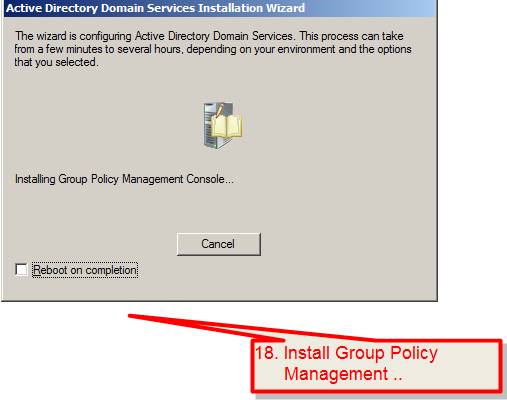
18. This is followed by installation of Group Policy Management console.
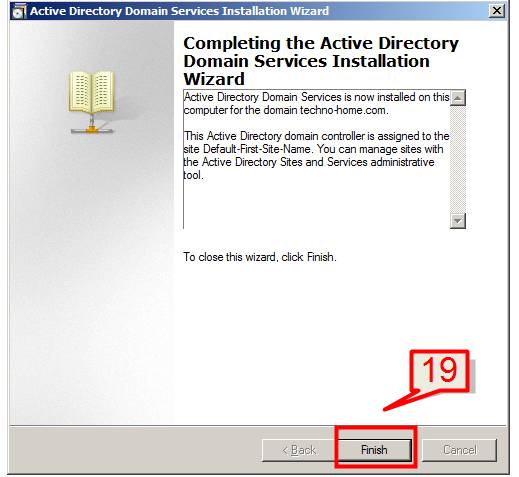
19. DNS installation will then complete. Click “Finish”.
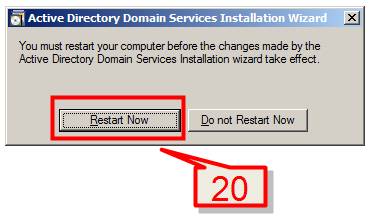
20. Click on “Restart Now” for the changes to take effect.
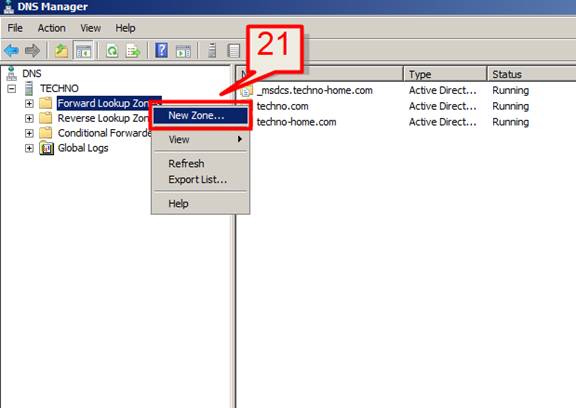
Configure “Forward Looking Zone”
21. Open DNS from Administrative tools. Select the forward looking zone. Right click and select “New Zone”
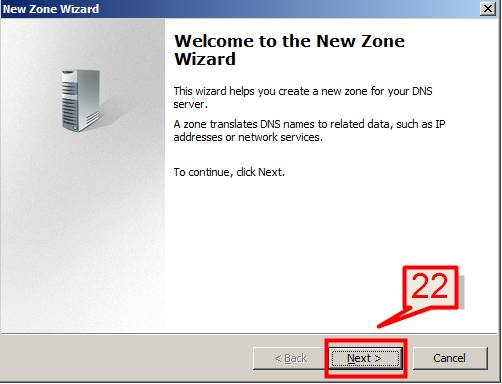
22. Click on next
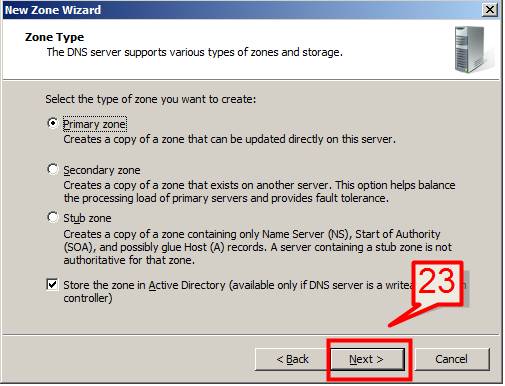
23. In the “New Zone Wizard” Select “Primary zone” and click next
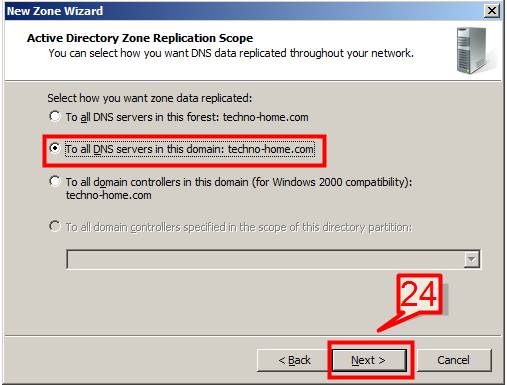
24. On the next screen, set “To all DNS servers in this domain” and click “Next” to continue
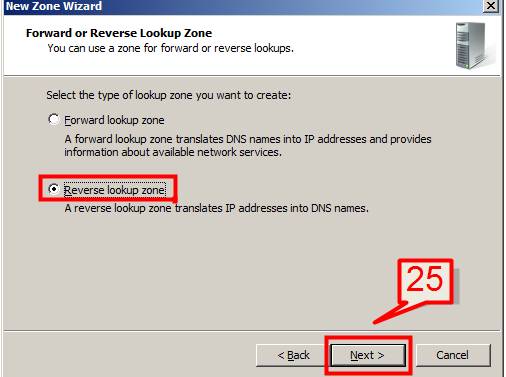
25. Select reverse lookup zone and click next
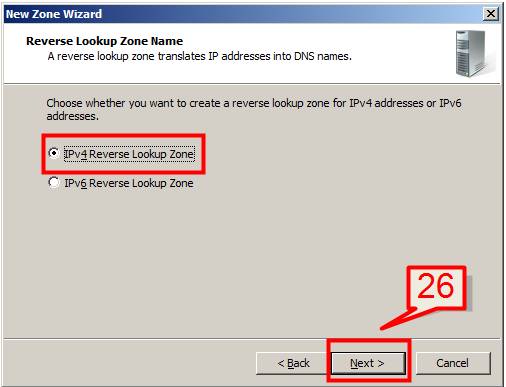
26. Select IPv4 zone and click next
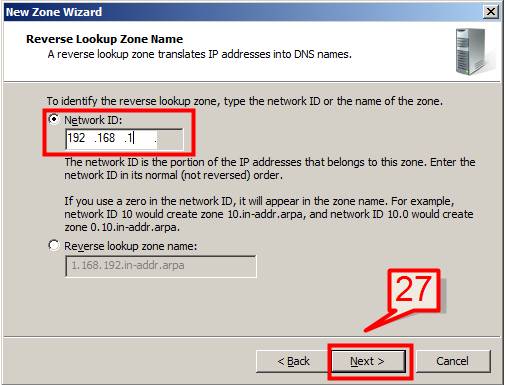
27. Provide the network ID IP address and click next
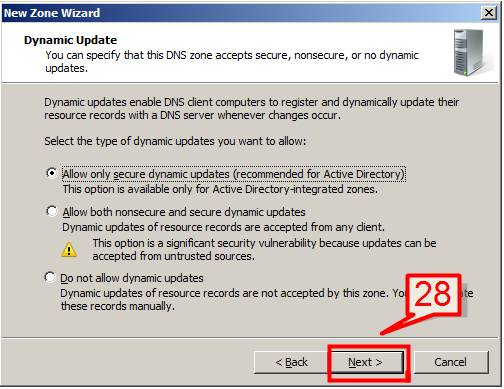
28. Select the default option and click next
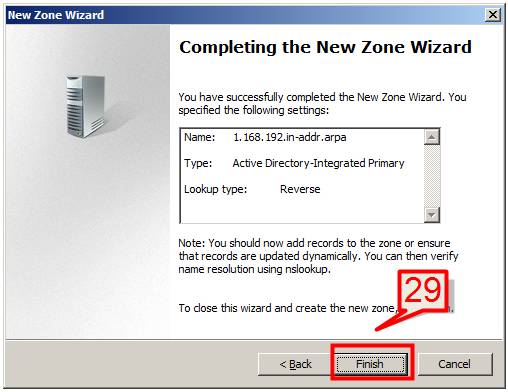
29. Click finish to complete the wizard
Installation and Configuration of DHCP Server
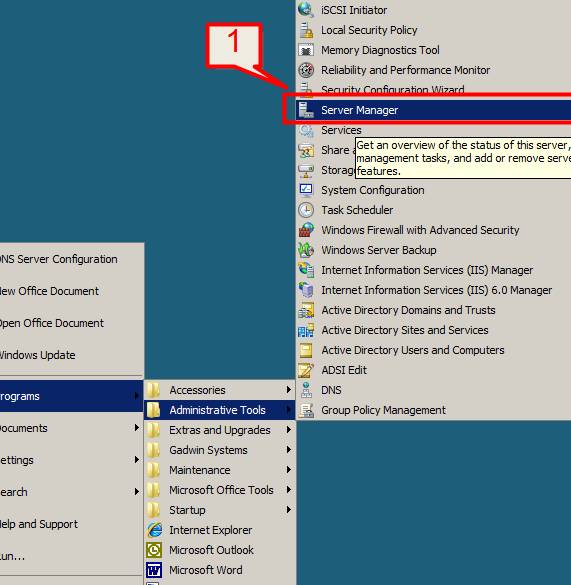
1. Open server manager from Start > Administrative tools > Server Manager
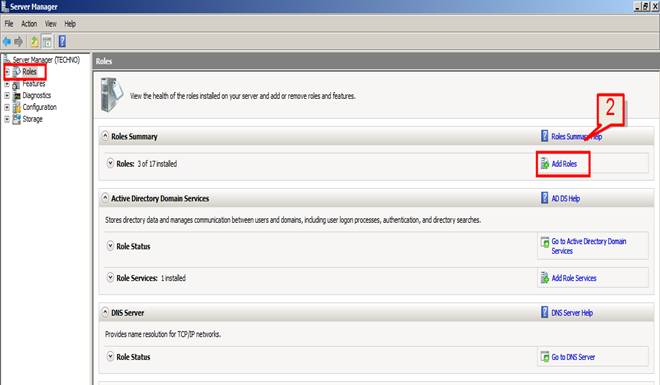
2. On server Manager, click on “Role”. On the main window, click on add roles
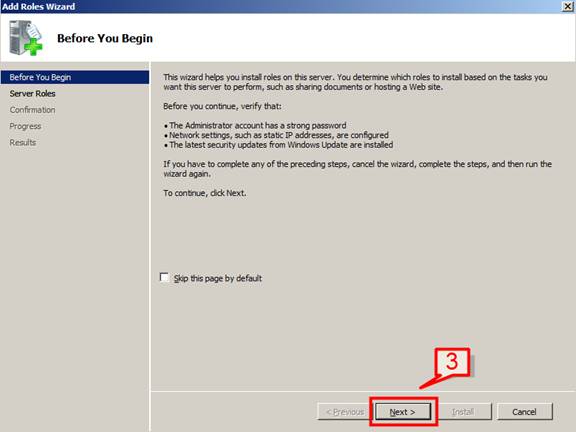
3. Click next on the Add Roles Wizard dialog
4. Select DHCP Server and click Next

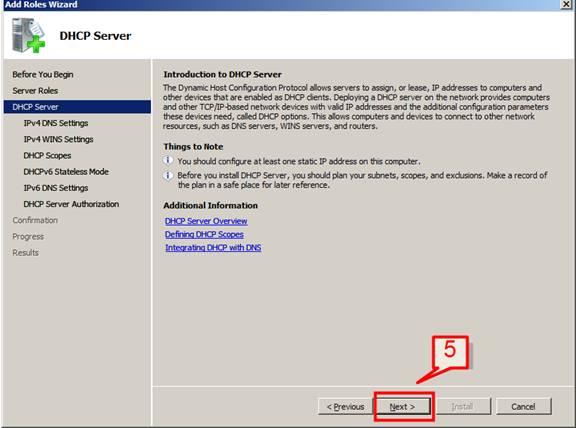
5. The next screen will have a summary about the DHCP server. Read it and then click “Next”
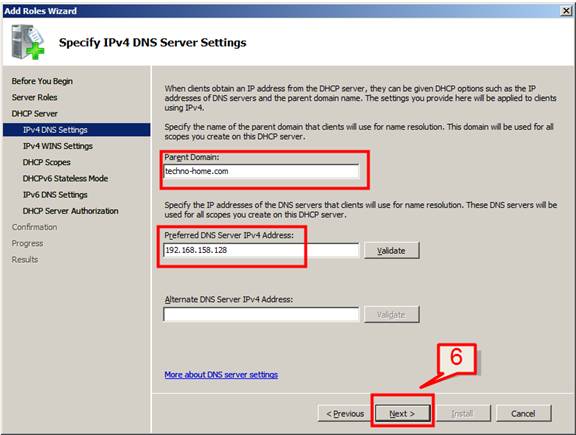
6. Enter your domain name and preferred DNS server IP address and click next
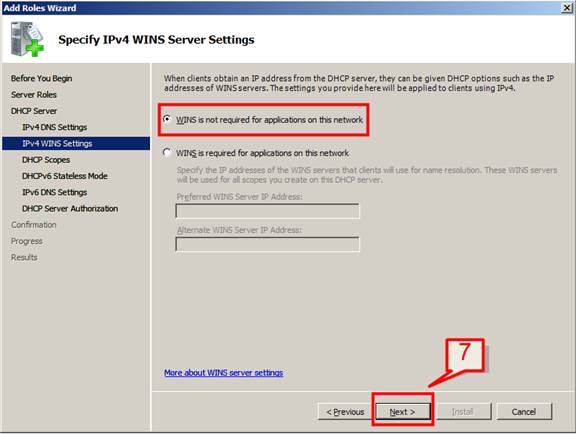
7. If WINS server is configured in your network then enter WINS details here. Otherwise select first option and click Next
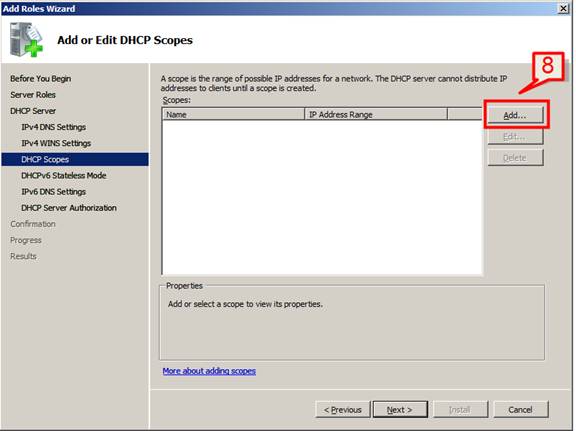
8. Add a DHCP server scope. To define a scope click on Add
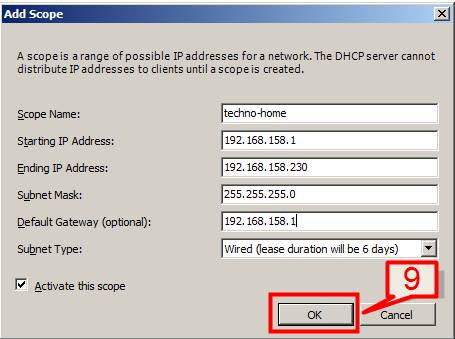
9. On Add Scope screen, enter scope details (Scope Name, Starting IP address, Ending IP address, subnet mask, default gateway) and select check box next to Activate this scope option and click ok
Note: Client will able to get the IP address from DHCP sever only when the scope is activated.
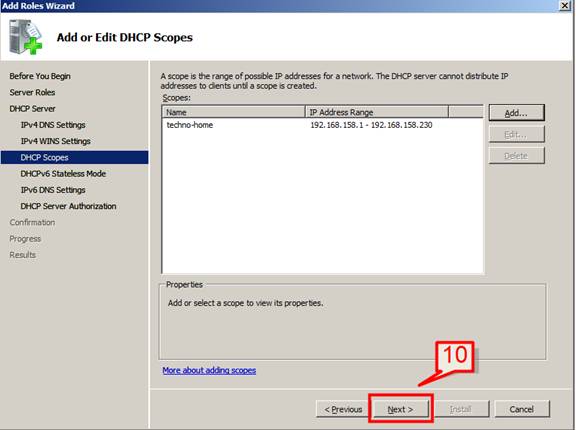
10. Click Next on Add Roles Wizard page.
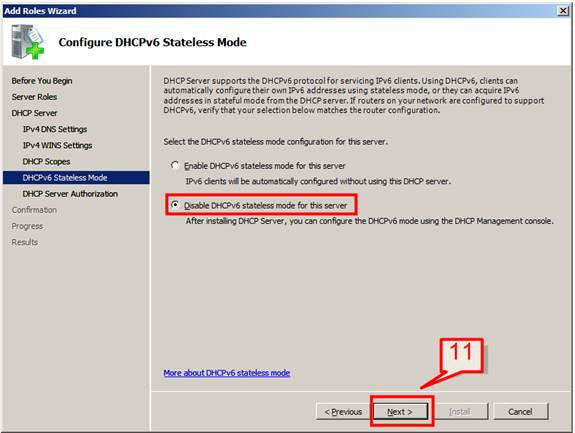
11. If IPV6 is enable for this server select Enable DHCPv6 or choose disable DHCPv6 for your DHCP server and click next
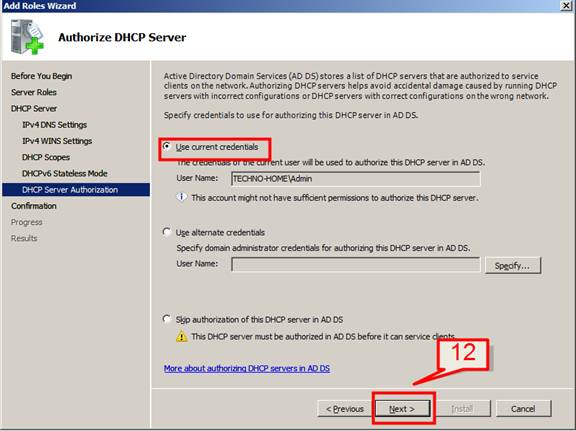
12. On “Authorize DHCP Server” screen, select “Use current credentials” and click next
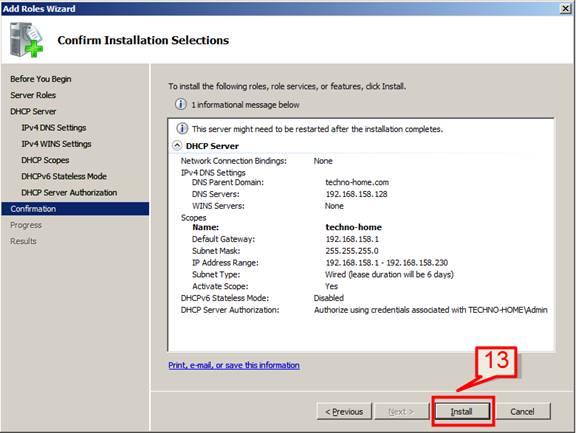
13. Review and confirm the installation selection and click “Install”. If you need to make amendments, click the “Previous” button to go back
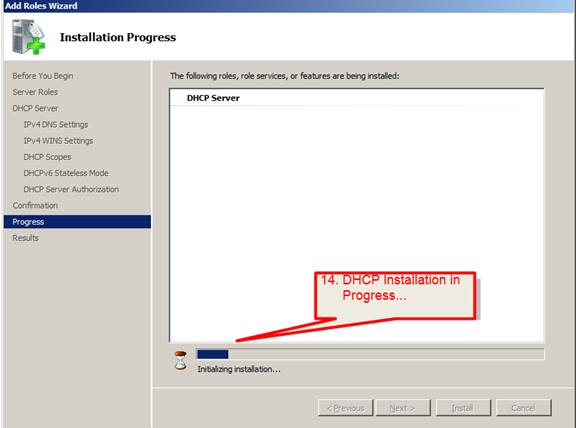
14. Installation of DHCP will then start
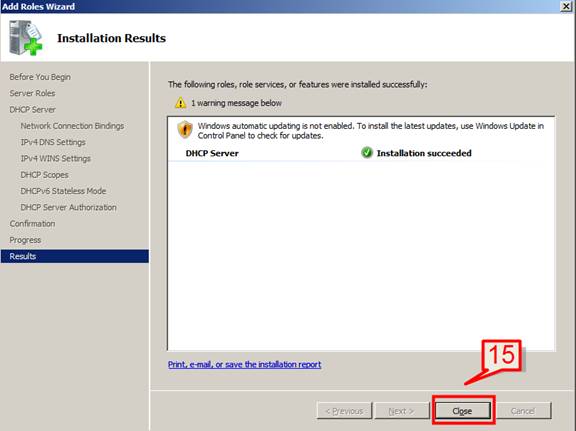
15. When installation is complete, click “Close”
Note: Sometime the system will require a reboot once DHCP has installed. Do this before proceeding


")


