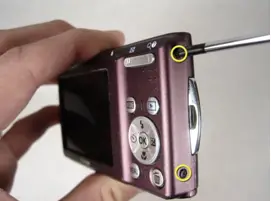
Nikon Coolpix S210 lens error: jammed lens.
Asked By
0 points
N/A
Posted on - 06/04/2020

I bought this camera a month before for the travel purpose. Although for a month this device gave me an outstanding capture but suddenly facing a problem with the lens.
While searching, found the Nikon Coolpix S210 lens error. I am in no mood to purchase a new digital camera can you please guide me to fix the issue?
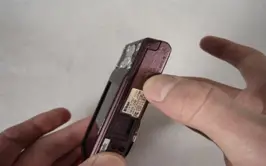
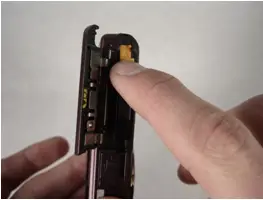

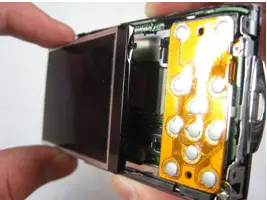
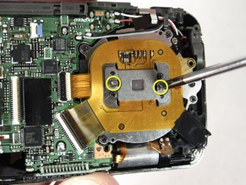 Unlatched the ribbon and now the entire metal plate should have detached.


