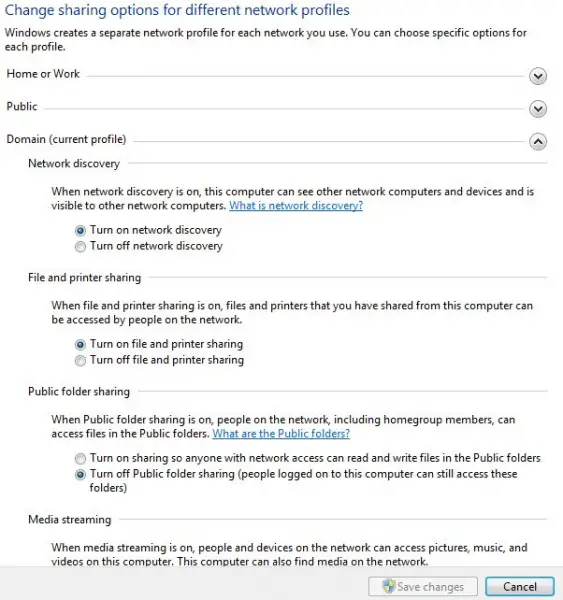
File sharing on windows 7 via router
Asked By
0 points
N/A
Posted on - 11/07/2011

Hello everyone. I have two computers, both running on Windows 7. Both are also connected via router. Now, how can I share the files and folders so that I can access them in either computer? Please suggest me on this.


")


