
I accidently pressed Reset Button on my D-Link 2750u DSL Router. All the setting got erased and now I am not able to Access the Internet. The DSL always blinks and doesn't get stable. Internet Light is RED all the time. Please tell how to configure it with MTNL as my ISP. I want to access the Internet. Due to Diwali Holidays their office is closed so I can't go to them. Please Help.
How to configure D-Link 2750u Router for MTNL ISP
-
Plug the ADSL splitter that came with the router into the main MTNL line to the Line port. Plug the modem port of the splitter to the DSL port on the router with the RJ-11 cable. The landline phone unit connects to the Phone port of the provided splitter.
-
Connect the computer to the LAN port of the router and switch the router on.
-
Once this is done, the power led on the router will change from red to green. Open this page on the computer’s browser: http://192.168.1.1/
-
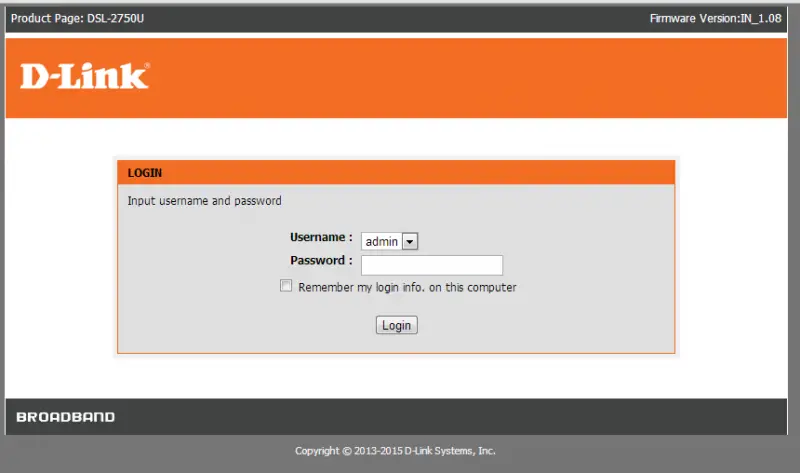
Once the page opens, you will be asked to enter a username and password. Enter “admin” for both the username and password as below:
-
Click on Login
-
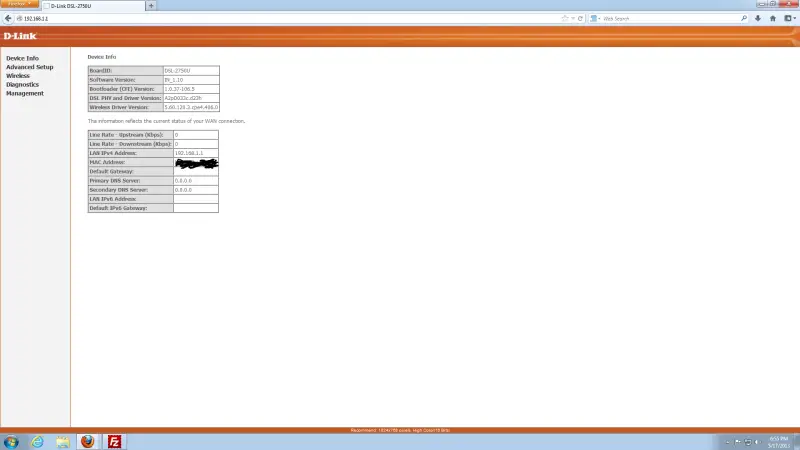
The following page opens once you have logged in successfully:
-
Click on “Advanced Setup” on the left hand side menu. Click the “Add” button.

-
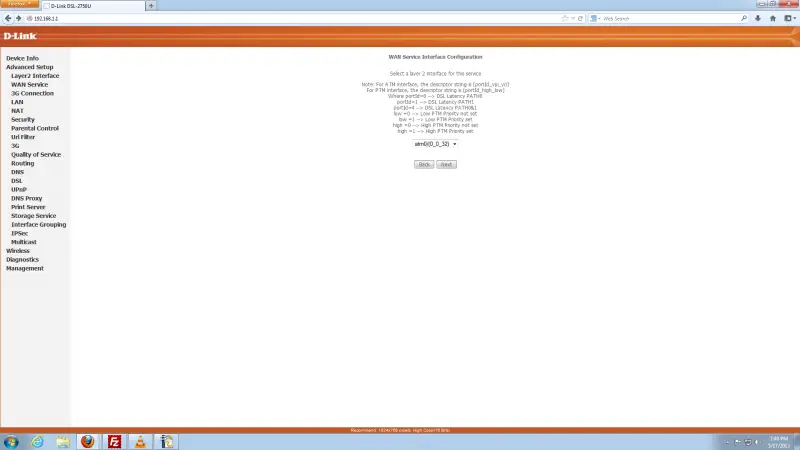
Now Add VPI values as 0 and VCI as 32 for MTNL. Select DSL Latency : Path 0
Select DSL Link Type: EoA
Connection mode: Default
Encapsulation mode: LLC/SNAP – BRIDGING
Service Category: UBR Without PCR
Select IP Qos Scheduler Algorithm to Strict Priority and then click on the "Save" button.

-
After you have entered the information as shown above and clicked “Save”, the page below is shown again
-
Click on “WAN Service” on the left hand side menu, and click on the “Add” button. The page below opens up:
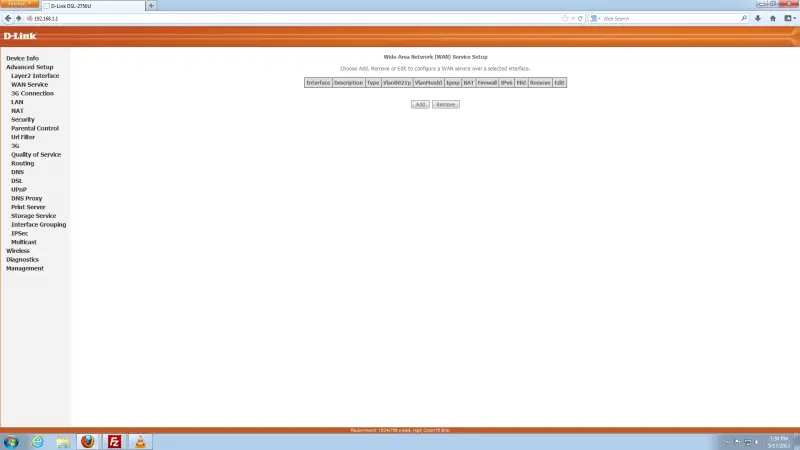
-
Click on the “Add” button. The page below opens up:
-
Click "Next" so that the page as shown below opens up
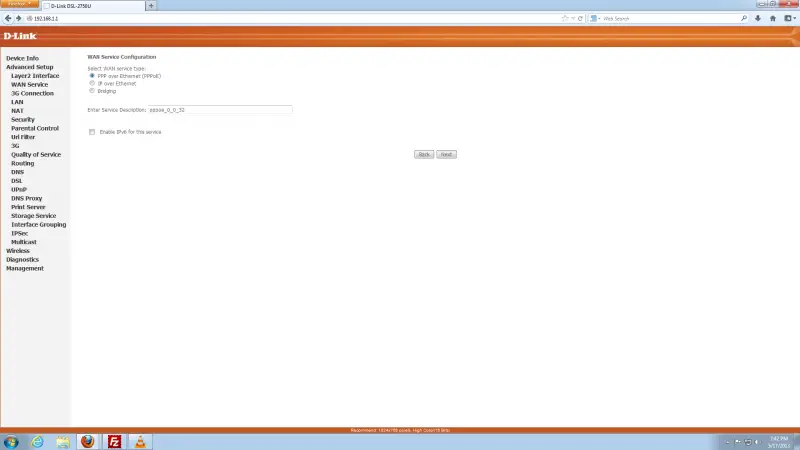
In the WAN Service Configuration setting, select the "PPP over Ethernet" setting as shown above and click the Next button. The screen below opens up:
-
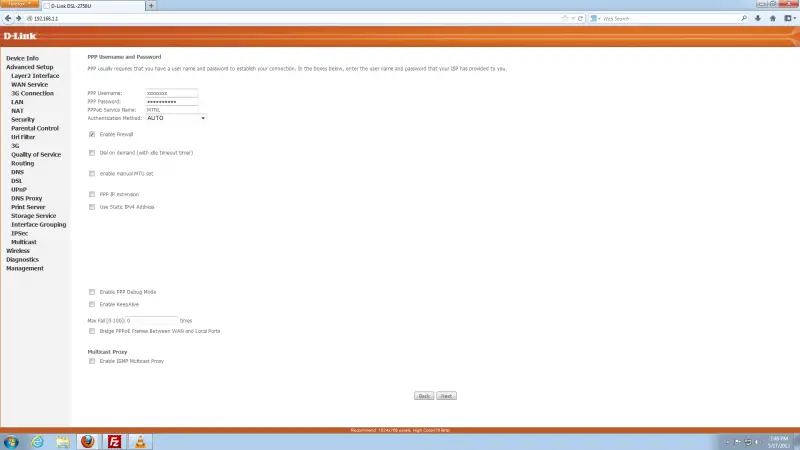
When the page above opens, you enter the following details:
-
Your service provide Username and Password as received from your ISP.
-
Enter “MTNL” for the PPPoE Service Name
-
Select “Auto” for the Authentication Method
-
The rest of the settings should stay as they are – on default.
-
Click Next. The page as shown below opens up. Don’t change anything, just click the “Next” button

-
In the page as shown below, make sure the checkbox “Select DNS Server Interface from available WAN Interfaces” is ticked. Click “Next”.
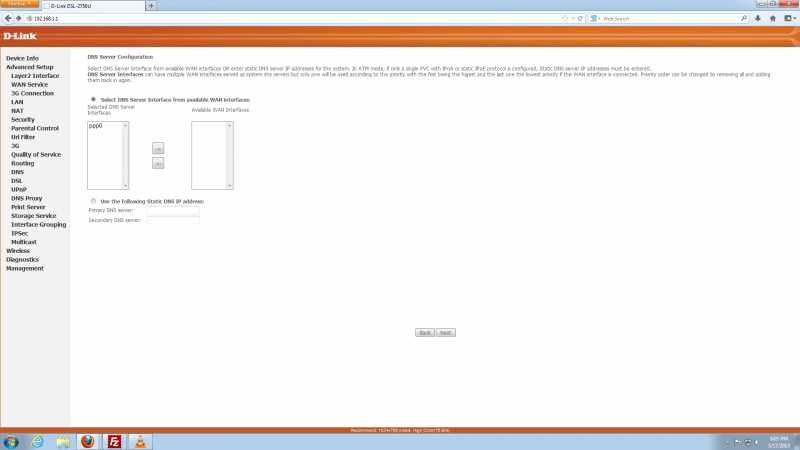
The following page opens up

-
Just click the “Save/Apply” button
The only thing left to do now is to reboot the router. Switch the router off at the power switch, leave it off for 5 minutes and switch it back on. Once the router is switched on, the first and second lights on the right hand side should turn to a green color after a few minutes. This means that you can now connect to the internet.


