
Hi,
I recently bought a new laptop and I was trying to connect to a network. I am a new user and I do not really remember what I changed in the network settings to make the error “Windows had detected an IP address conflict” appear. I would like to know what experts say about this error and how to correct it before I do something to damage my laptop.
Error message:
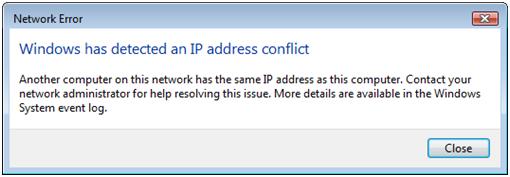
Network Error
Another computer on this network has the same IP address as this computer. Contact your network administrator for help resolving this issue. More details are available in the Windows System event log.
Windows has detected an IP address conflict.
Hello,
This means another device on the same network as your computer has the same IP address as your computer.
This can be simply solved by rebooting your computer. If this doesn't work , it means that both the devices are set to Static IP address.
To change this
1. Click on the start menu> Control Panel>Network and Internet>Network and Sharing Center.
2. Click on LAN and a pop-up window will appear.
3. Click on Properties
4. Click once on “Internet Protocol Version $(TCP/IPV4)” then click on ”Properties”
5. Select these two options;
-
Obtain IP Address Automatically
-
Obtain DNS server Address Automatically
6. Click OK
Owens Liriano
Windows has detected an IP address conflict.
IP Address conflict happens when two or more computer are given the same IP Address while connected to a Local Area Network or internet. This is normally brought about by a system administrator mistakenly assigning the same IP address to two or more computers or when a static IP address is assigned by the system administrator when the system also assigns it automatically to another.
Of course the easiest solution is to contact your system administrator and let him make the changes in the assignment of the IP Addresses. But you can also fix this on your own by doing the following:
1. Click Start and select Control Panel
2. Click Network and Internet
3. Click Network and Sharing Center
4. Click Manage Network Connections
5. On Local Area Connections, right click and then choose Properties. Click Continue of there is a need for permission.
6. Select Internet Protocol Version 4 and then click Properties
7. Select next "Obtain an IP address automatically"
8. Then select : Obtain DNS server address automatically"
9. Close the TCP/IP Properties window
10. Close the Local Area Connection Properties window
11. Close the Network Connections window
12. Close the Control Panel window
13. You can now restart your computer
This should be resolved now.


