
I connected and installed a printer for our working area. We tried to print with this printer from LAN but nothing happened. Everything were all properly connected and followed the manual on how to connect it with LAN. But still the same. Can you provide us resolution for this problem? Can you provide me alternative solutions for this device? Can you give me pointers on how to prevent this from happening again? Thank you very much and have a nice day!
Printer doesn’t work through LAN Network Brother MFC-J6920DW
Hello Donald!
Here are some of the steps that you can use to resolve your problem.
1. Go to Start menu >> Control Panel >> select Hardware and Sound and go to Devices and Printers. Note: Switch the View to – > Category.
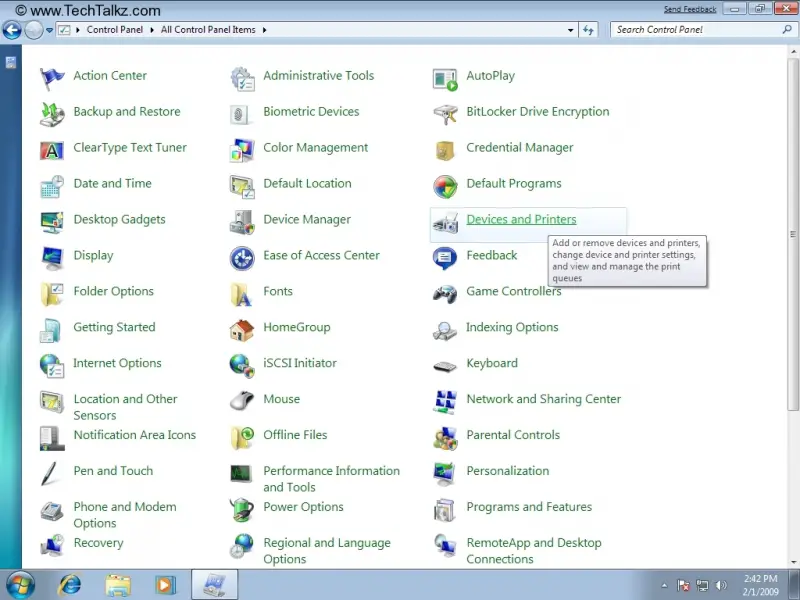
2. Select add a printer.

3. Click Add a local printer.
4. Create a new port. Make sure that the Local Port is selected from the list and then click the Next button.
5. In the Port Name type \computer nameprinter name (simply by locating the printer in the network), then click Ok button.
6. Follow the on-screen guide and then click Finish button.
You can also try the instructions below. Verify the connection status is the best way to resolve your problem.
1. Go to Start menu >> Control Panel >> Network and Internet >> click Network and Sharing Center.
2. Here you can see if your computer is really connected to LAN. Close the window.
3. Right click in the notification area and then select Diagnose and repair.
4. Open again Network and Sharing Center. If Network Discovery is off click the arrow button to expand and select Turn on network discovery. Click the Apply button once done.
5. Go to Printer sharing section, turn on Turn on printer sharing and then click Apply.
Printer doesn’t work through LAN Network Brother MFC-J6920DW
Before you can use a device like a printer or scanner across a network, the device must be shared properly. To share your scanner or printer properly across the network, on the computer where the printer or scanner is directly connected, click “Start”, “Control Panel”, “Printers and Other Hardware” then “Printers and Faxes”. Here, right-click your printer or scanner then select “Sharing”.
In the printer or scanner’s “Properties” window, in “Sharing” tab, make sure “Share this printer” is selected then enter your device’s shared name in the “Share name” text field. For example, without quotes “Scanner network” then click “OK”. After this, you need to add the shared printer or scanner to the rest of the computers on the network.
To do this, on every computer, click “Start”, “Control Panel”, “Printers and Other Hardware” then “Printers and Faxes”. Next, click “Add a printer” then click “Next”. In “Add Printer Wizard” dialog, select “A network printer, or a printer attached to another computer” then click “Next”. Windows will then search the network for possible shared devices and display the results on the screen.
Select the shared device you created earlier called “Scanner network” then click “Next”. And that’s it. The shared printer or scanner should now appear on the computer. This should now allow you to use the network printer to print your documents.


